
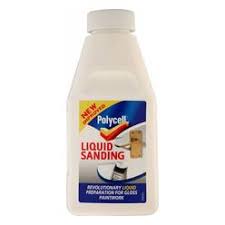
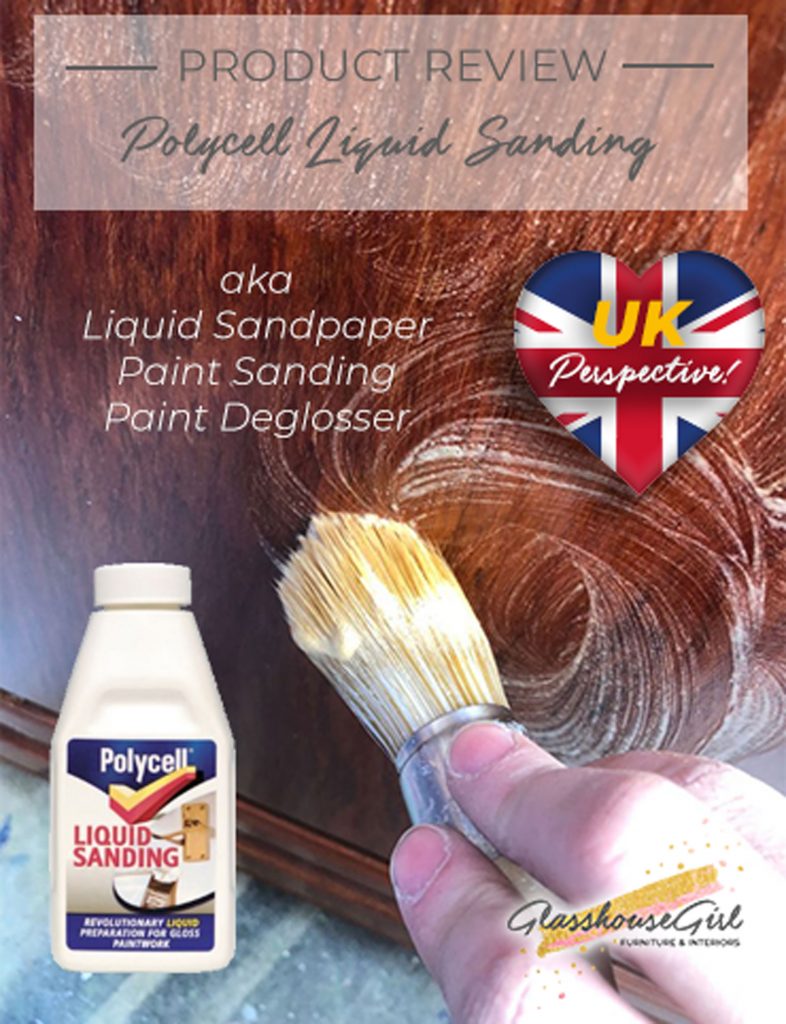
Given that I spend a huge amount of time sanding vintage pieces when I saw a product called Liquid Sanding by Polycell I got very excited! Here’s my review having tested it out…
The marketing hype
“Polycell Liquid Sanding is an equivalent to sandpaper, but without the hard work or dust. Its brush-on formulation cleans surfaces and turns gloss into matt in an instant, providing the perfect key to all paint jobs.”
Sounds great right? So how does it really perform?
The ideal piece to test on
I found this bureau on Facebook marketplace. Despite its orangey tones and shiny lacquer, I fell in love with the bird and floral carvings. It seemed like the perfect piece to trial the Liquid Sandpaper. I would usual get steel wool into all those nooks and crannies and it would be a complete time-consuming PIA!
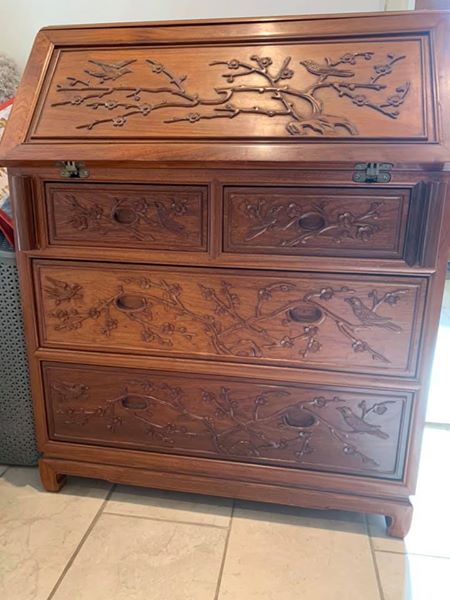
Before you all start moaning about this being a perfectly good piece of solid wood (Rosewood? Teak?)… The top had been ruined and (to me!) the piece felt dated. I’ll show you soon but it will be given a new lease of life with a touch of paint!
Back to the Liquid Sanding…
When I opened the bottle. I discovered that it has a very distinctive odour. It’s almost yeasty. The texture is like thin porridge and the colour is a dark cream. I’m guessing its some kind of dilute paint stripper which is what ‘sands’ the surface. I did get some on my hands before remembering to wear gloves but didn’t have a reaction, so its not too strong.
The instructions say that any loose or flaking paint need to be removed with sandpaper before use. That’s one thing to remember – it’s not as good as sandpaper. On this piece that didn’t matter though.
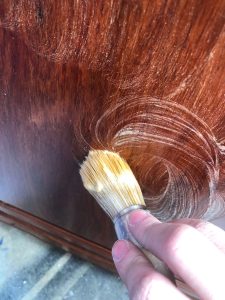
I poured some products into a bowl. With a paint brush, I covered the piece in the Liquid Sanding using circular motions as instructed. I starting with the carved reliefs and then moved on to the flat surfaces.
I waited the required 30 minutes for the product to ‘take’. The final instruction says to remove the product with a damp cloth. Unfortunately, that is easier said than done! The product seemed to ‘melt’ the top layer of lacquer. I really struggled to remove it all. 🙁 Eventually, I managed to remove what I felt was enough after several buckets of clean water.
The results
The surface seemed to have a soft key. At this point, I was quite chuffed with how it worked out. See below:

I then applied a coat of primer…
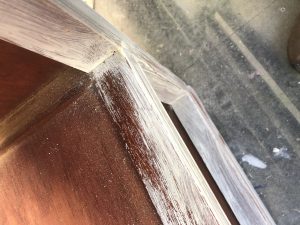
Oh dear. I hadn’t removed all the product and the primer started crumbling away. Disaster! To make matters worse, the product had removed enough of the lacquer that the wood stain underneath began to bleed through. In all honesty, I think the bleed through was pretty unfortunate for this test and would have happened with sandpaper as well. So, it shouldn’t be considered a part of the review. Just note: if you are working on varnished and stained furniture then sandpaper is really the best way to go! I’ll write a follow-up post about bleed through soon.
Conclusion
Given that I ended up having to sandpaper all the flat surfaces anyway and recoat with primer, the product didn’t really meet my requirements for everyday use on the flat surfaces of furniture. In fact, using this product took me more time overall on this piece.
I wouldn’t recommend you use it inside the house but… If you have a space outside and a pressure washer, I think you could really get huge value and save loads of time using Liquid Sanding when it comes to furniture – simply swirl it on and then blast it off.
That said, Liquid Sanding is brilliant if you are working on carved reliefs or intricate details. If you have furniture legs with carved detail then – hell yes! Despite the ‘hassle’ of washing it off, it helps get a great key on the surface without damaging any of the detailing.
If you want to try Polycell Liquid Sanding for yourself, click here and at no extra cost to you, I will get a small commission from the Amazon Affiliate scheme.

Leave a Reply
You must be logged in to post a comment.