Trying to work out what sandpaper I needed for a job, used to drive me completely crazy. If you feel the same let me give you a quick whistle stop tour!
Full disclosure, I participate in the Amazon Affiliates scheme so if you are inspired to buy anything by this blog post, please use the links and I’ll get a little commission from Amazon at no extra cost to you!
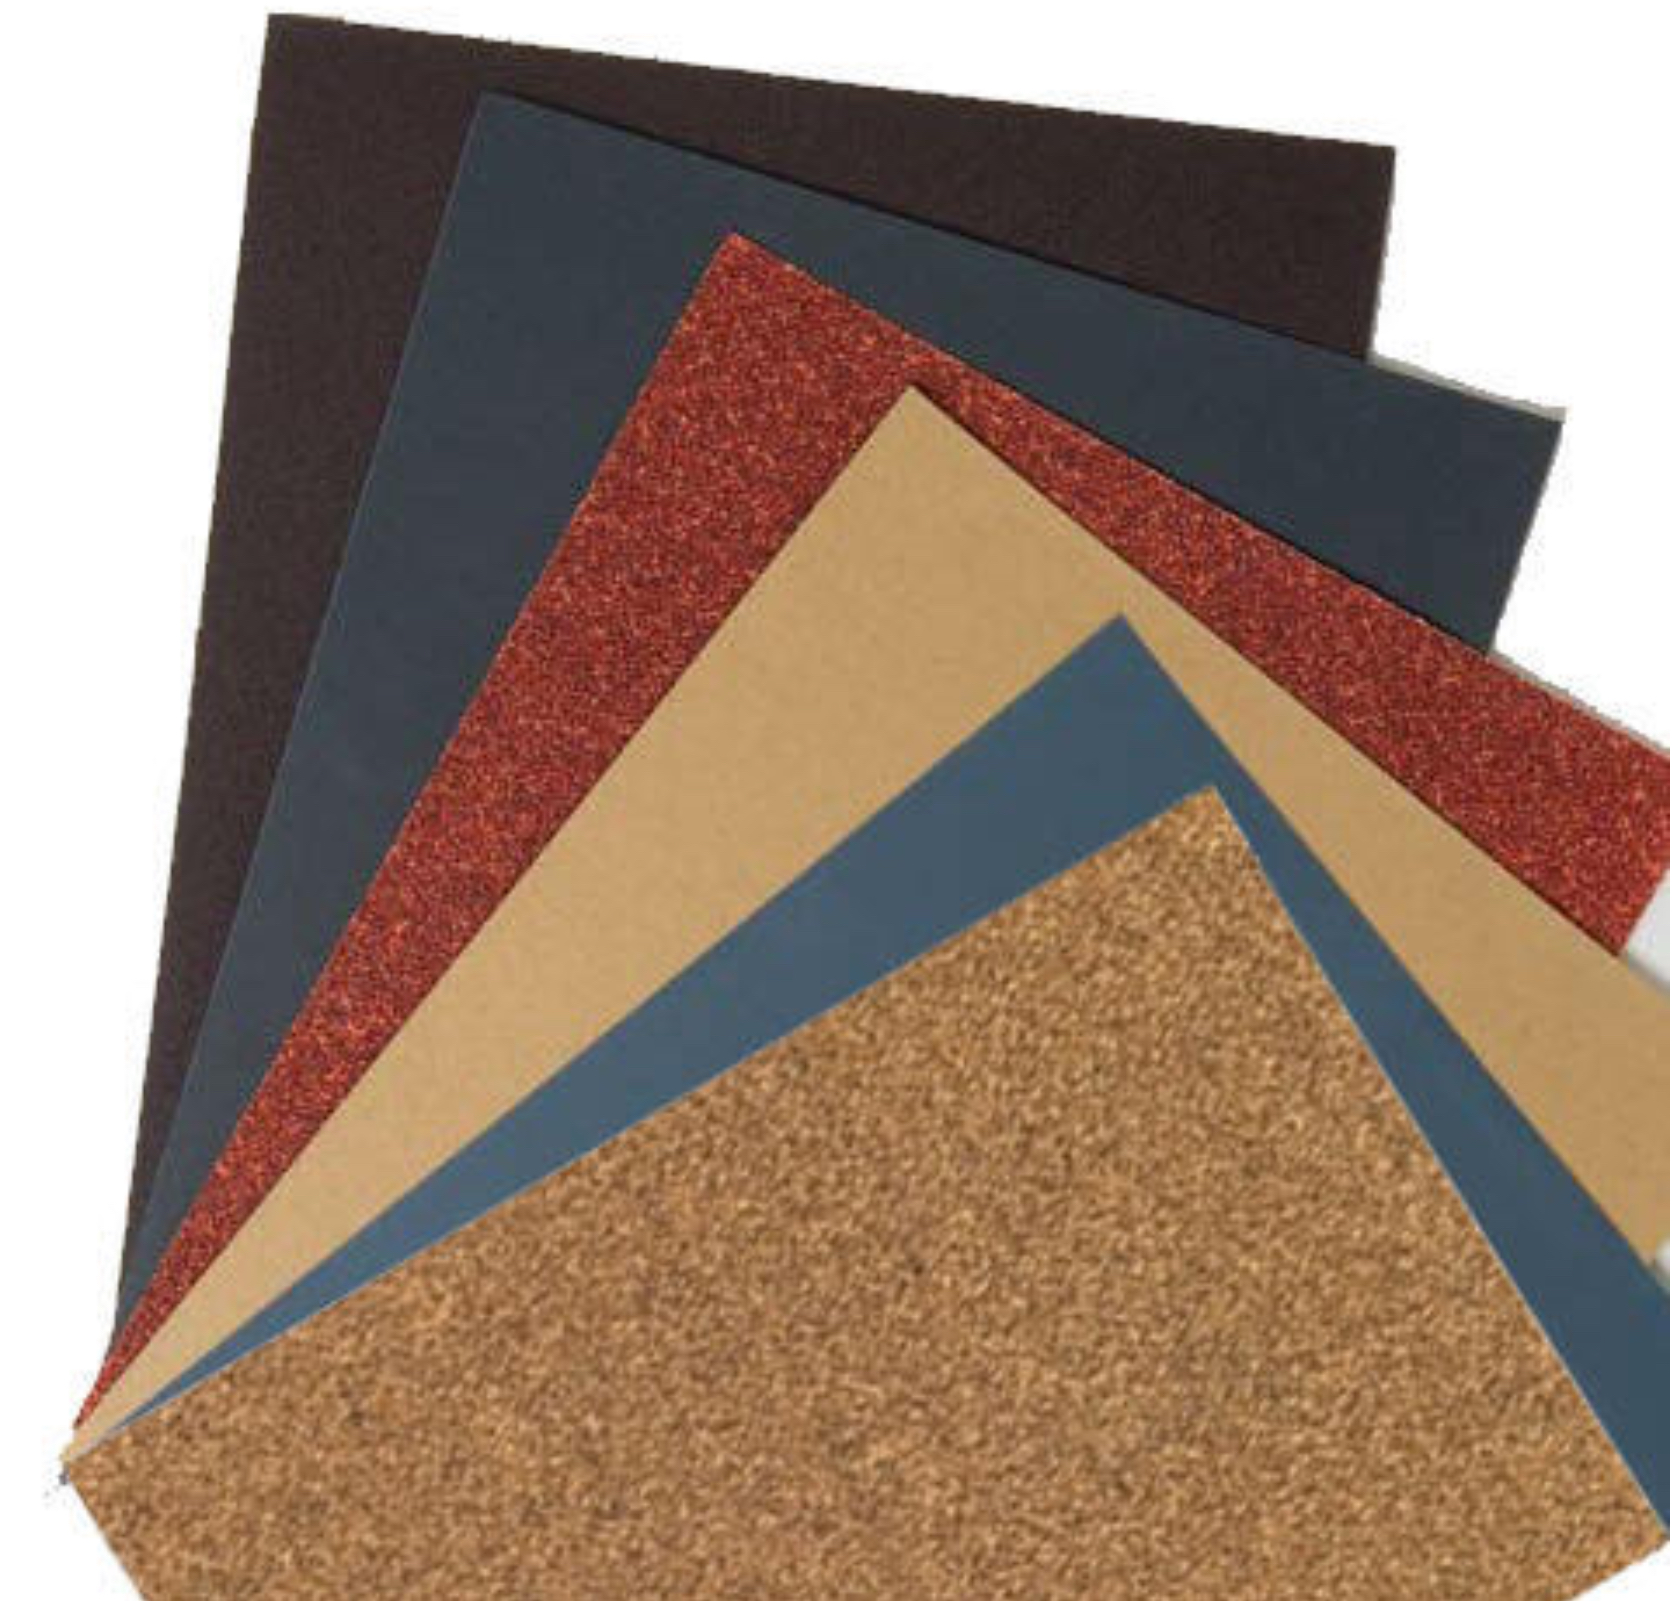
True Grit
Sandpaper comes in a range of ‘grits’, this basically indicates how coarse the bumps are on the sandpaper. The higher the grit number, the finer the paper.
An easy way to remember this is to think of then grit grade as being related to the number of bumps on the paper. A coarse paper e.g. 40 grit has a small number of large bumps on it. A fine paper e.g. 220 grit has a large number of small bumps.
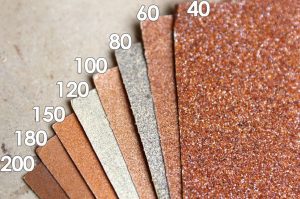
Low Grit
Low grit sandpaper (40-100) is very coarse and will remove old thick paint. It will also help you remove any scary lumps and bumps.
Medium Grit
Medium grit sandpaper (120-180) will remove the top layer of most finishes e.g. a heavy shiny varnish. This is a good choice to ‘create a key’ (scuff the surface) ready for the base coat of paint.
Fine Grit
Fine grit sandpaper (220-240) is for sanding between coats of paint. Superfine or extra fine sandpaper (300+) prepares bare wood for staining.
Wet Dry
One final type of sandpaper you’ll come across is called wet-dry. Wet and dry sandpaper is available in the full range of grits but is usually the finer grit type. It can be dipped in water or a lubricant like mineral spirits making the sandpaper more flexible. If you put multiple thin layers of varnish on your piece such as shellac or French polish, you would use this sandpaper to get that clear as glass result.
Formats
For use by hand and for small projects, sandpaper can be bought from DIY stores in mixed grit or single grit packs of sheets. You tear these into pieces to use and fold. When sanding by hand, wear a pair of gloves to protect your skin from getting ‘sandpapered’. My current favourites are gardening gloves (buy a pair here) as they protect but let your hands breathe and stop them getting sweaty!
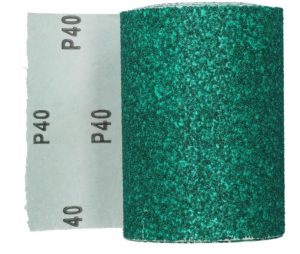
If you are planning on doing a lot of sanding but still want to sand by hand, then I suggest you invest in a sanding block. This is a plastic or wood block which you wrap sandpaper around. You’ll need to buy sandpaper in rolls and tear pieces to fit your block but this makes it more cost-effective.
For fine sanding, you can also use steel wool which is also available in different grades of ‘coarseness’.
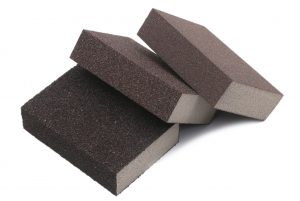
The final sandpaper tool you will come across is called a sanding sponge. As you probably guessed from the name, these are foam sponge blocks which have a ‘glued-on’ wrap of sandpaper. They are actually really useful for getting into nooks and crannies. You simply squeeze the sponge to shape and get it into corners.
Buying links for the products I most commonly use:
- Mixed pack of sheets
- 40 grit roll
- 120 grit roll
- 180 grit roll
- 240 grit roll
- Wet and dry sheets
- Sanding block
- Sanding sponges
I hope this quick 101 was helpful, I’m sure you’ll let me know in the comments! If there’s anything else you’d like me to give you the down-low on comment below or drop me a line.


Leave a Reply
You must be logged in to post a comment.