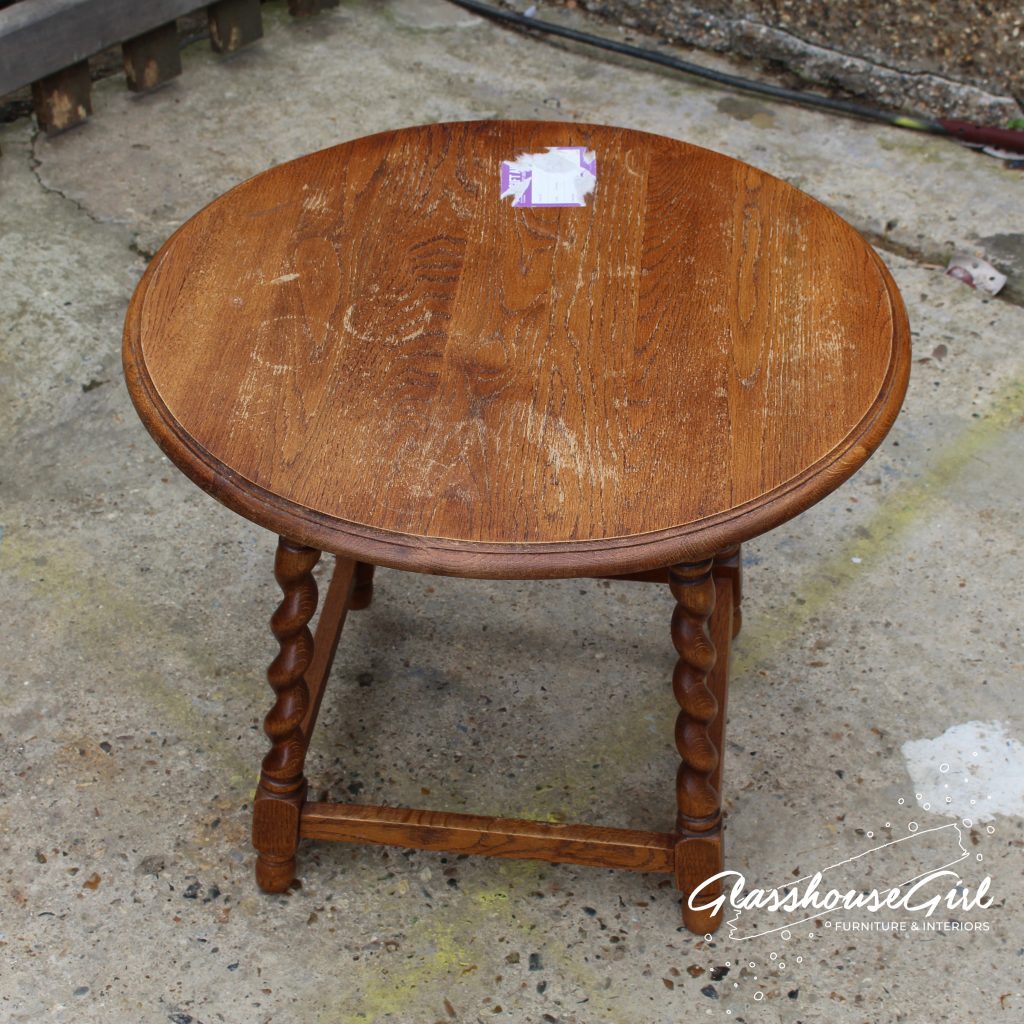
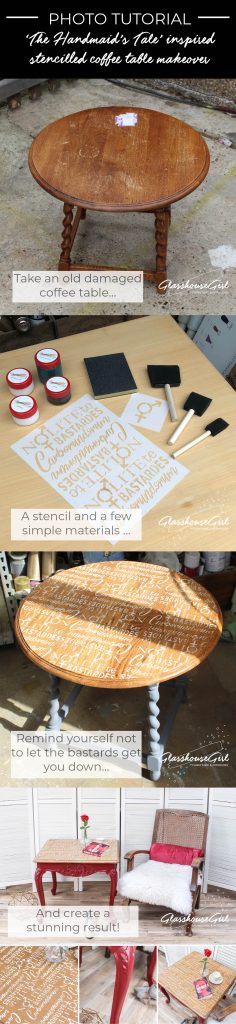
Today, we are going to turn this… 
… into this!
Tools required:
- Screwdriver
- Paint brushes or foam brushes
- Sand paper and sanding pads
- A stencil e.g. the Glasshouse Girl “Nolite te Bastardes” stencil
- Stencilling pouncer
- Cleaning cloths
Materials required:
- Undercoat
- Colour coat – a suitable wood paint e.g. eggshell, acrylic or stainwood
- Stencil paint – an emulsion tester pot is more than enough
- Wood stain
- Wood varnish
Here’s a basic oak coffee table with barley twist legs. The top has been wrecked by drinks rings 🙁 Let’s make it amazing! 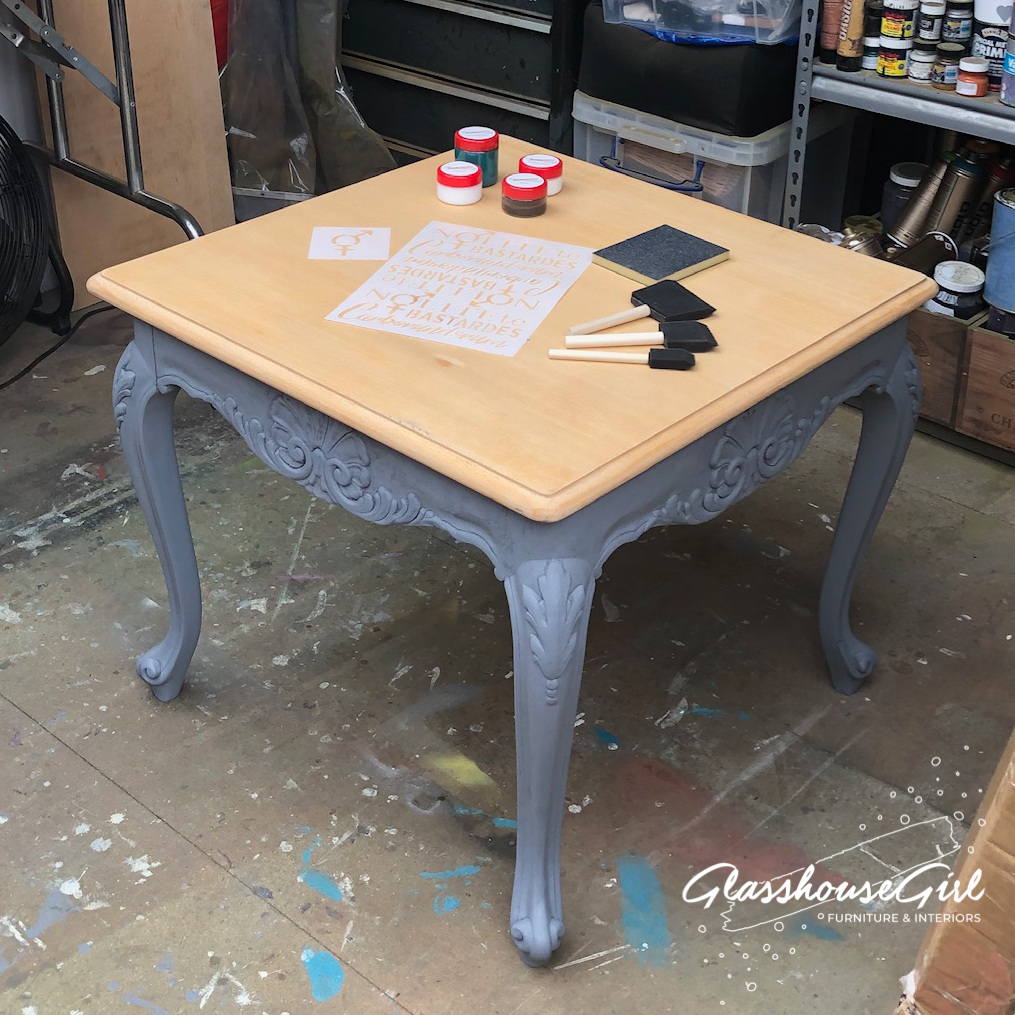
I’ve also prepared a square version by stripping the top and undercoating the base. 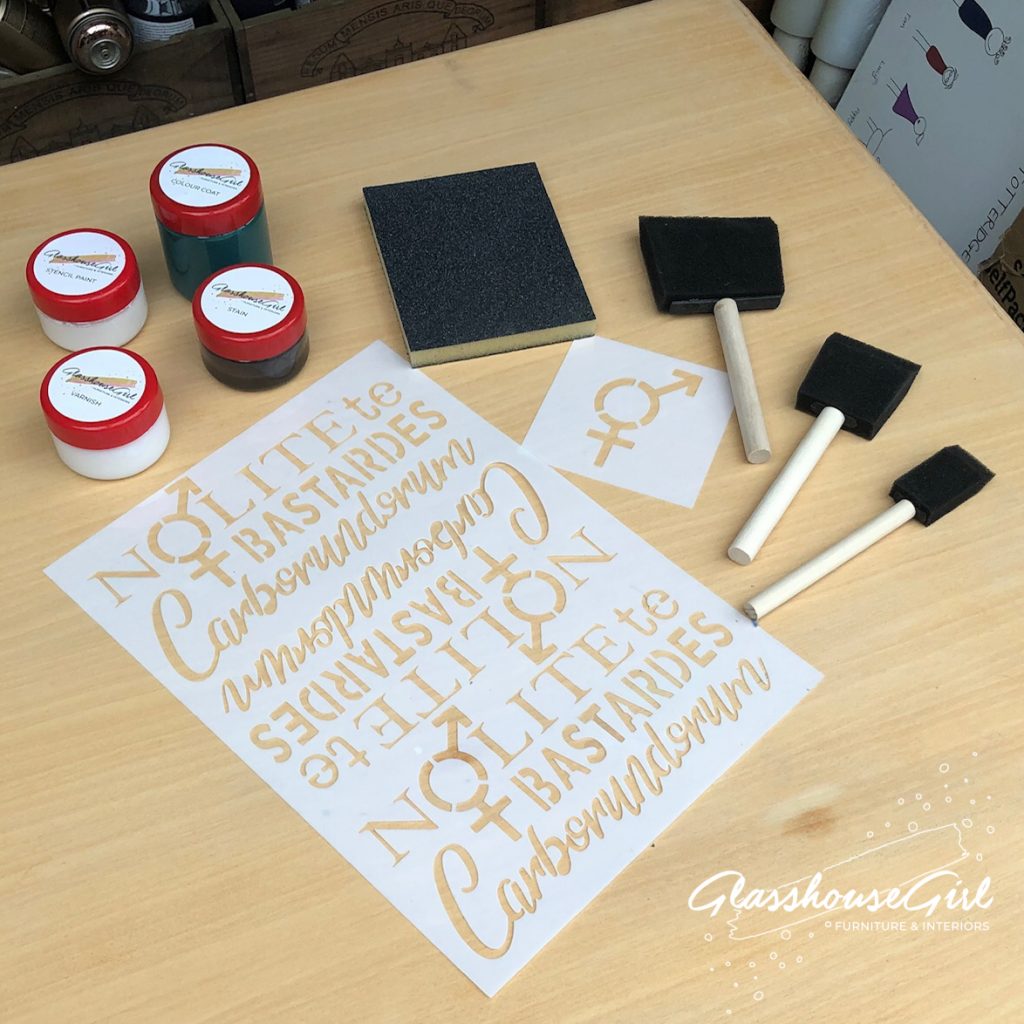
All the materials to complete this transformation are available as a Kit from my shop! 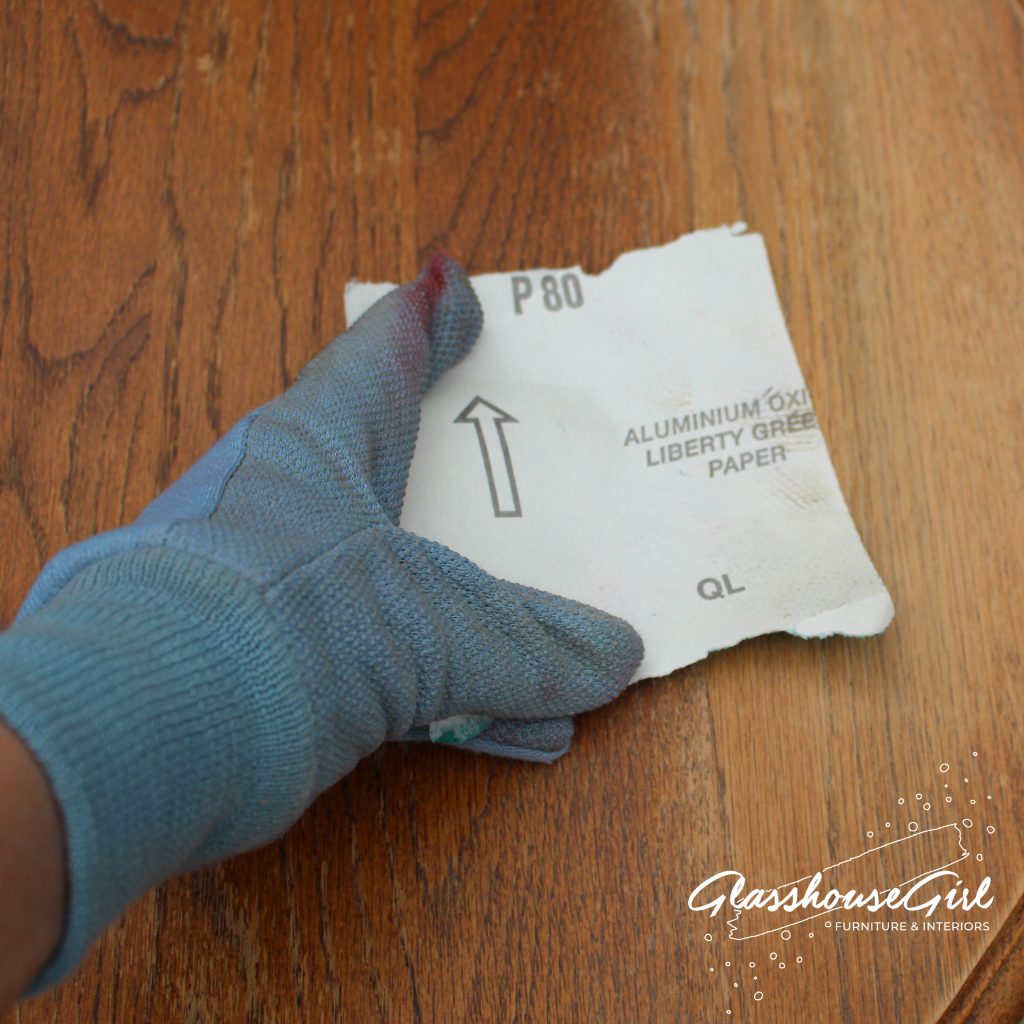
Take some heavy grit sanding paper (I like 80 grit). 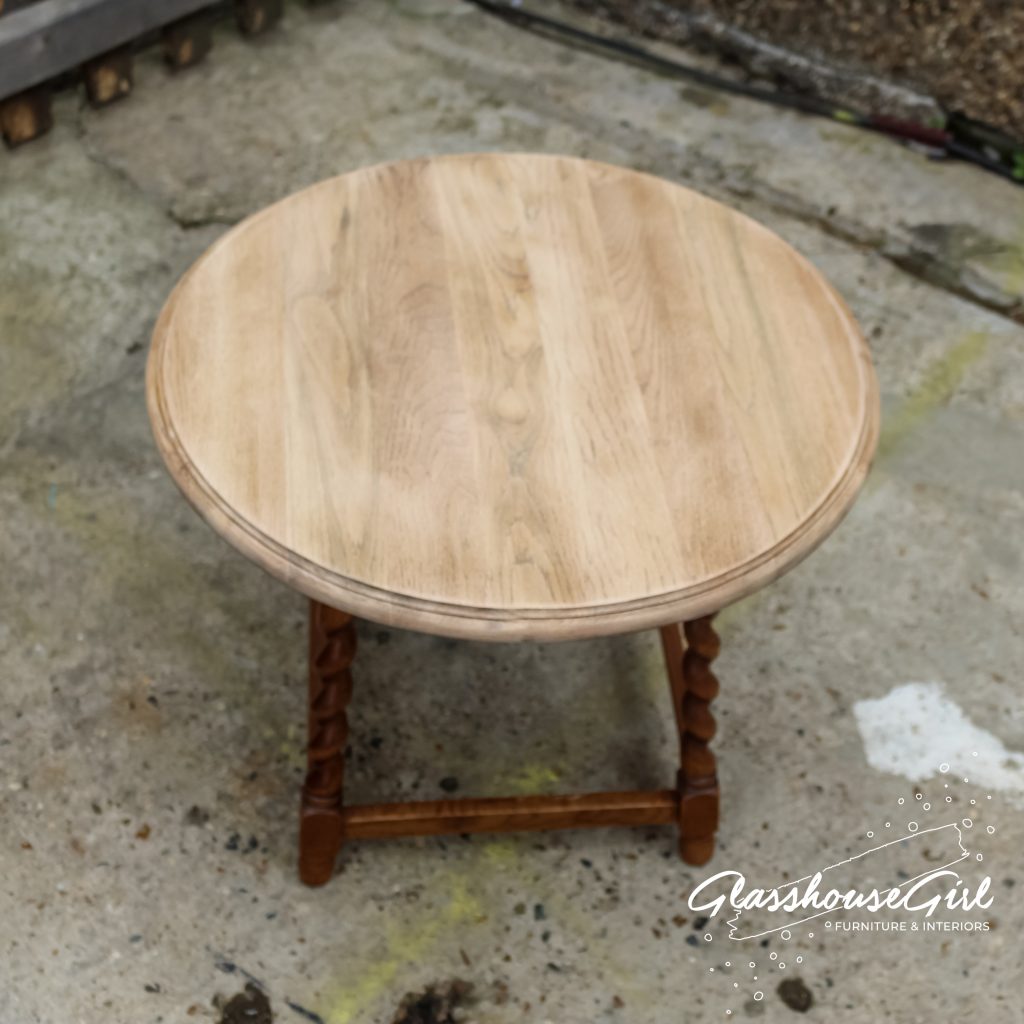
Sand the table top back to the bare wood. 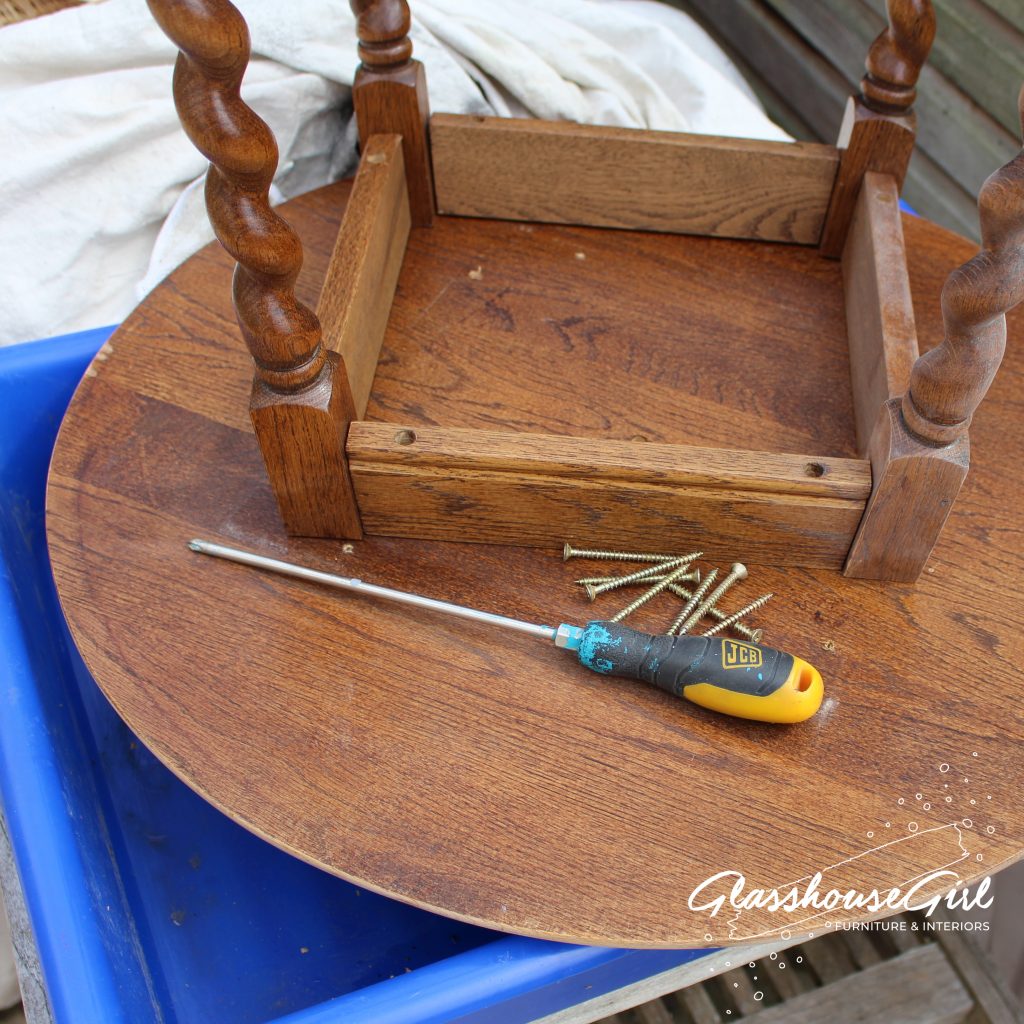
Remove the base from the top (if you can) to make life easier. 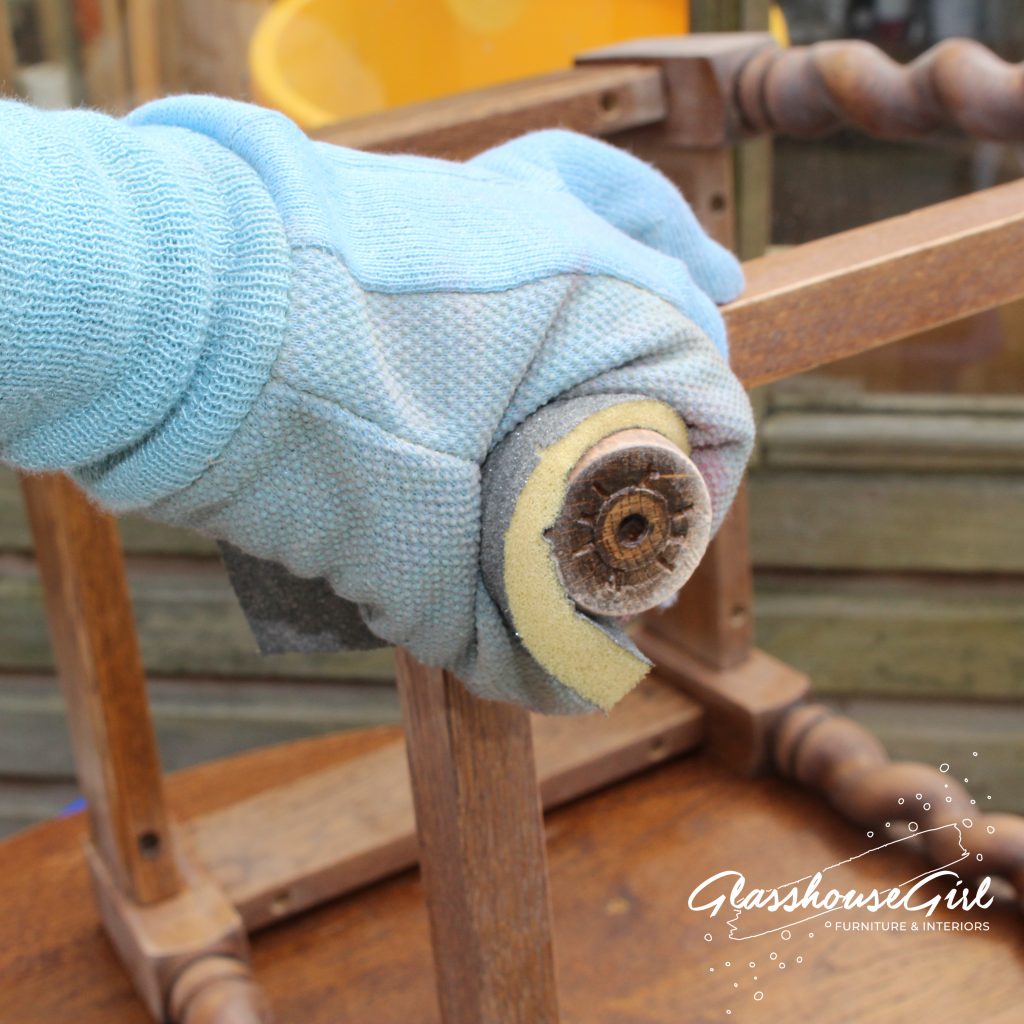
Use a coarse flexible sanding pad to sand the base, making sure to get into all the nooks and crannies! 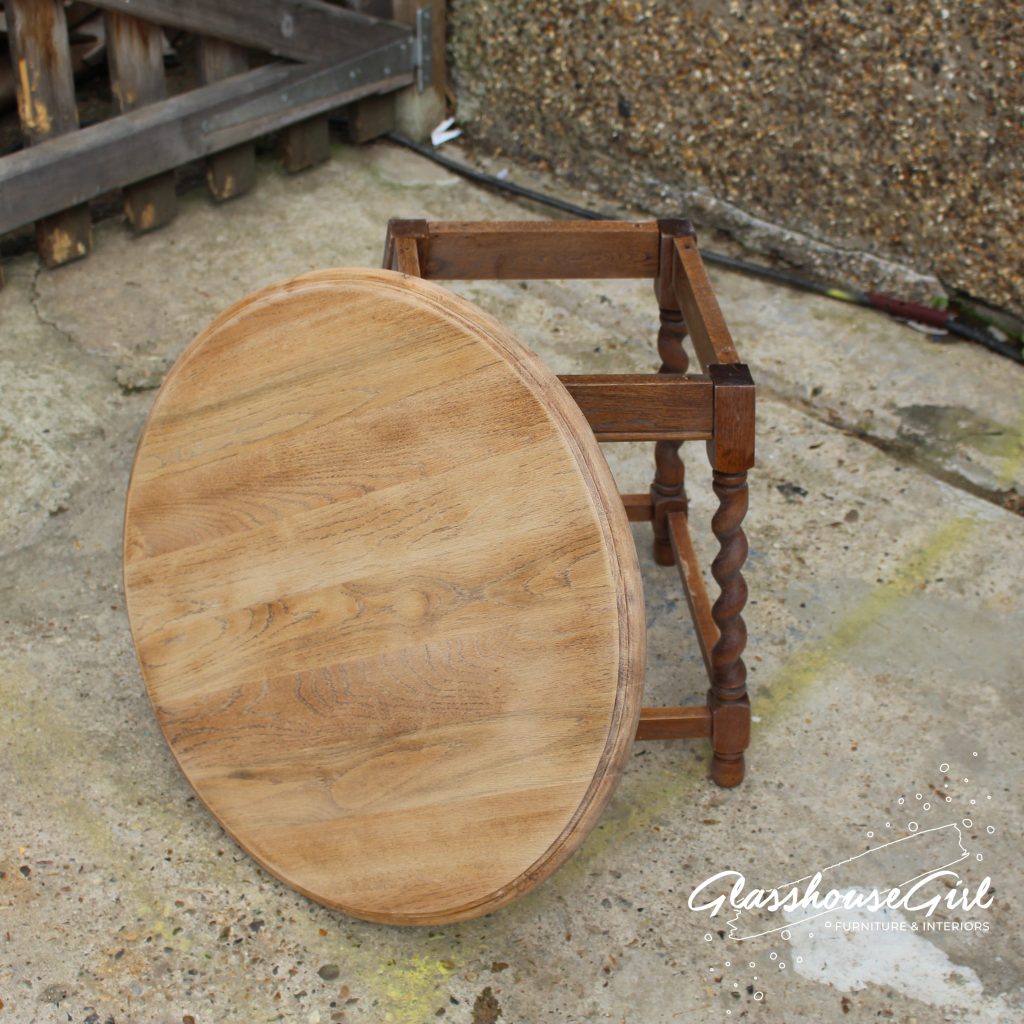
It’ll take you about 90 minutes to sand a small-medium sized coffee table by hand. 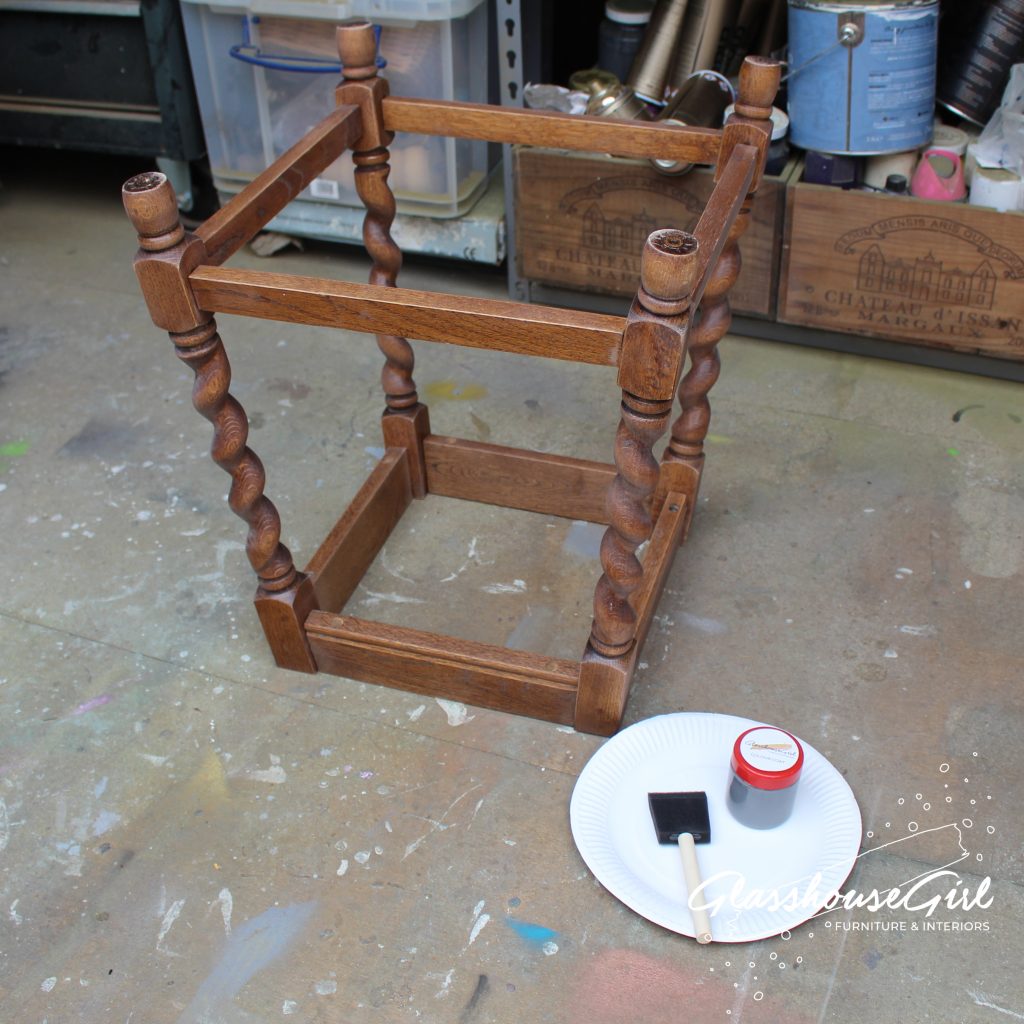
Take the base and turn it upside down. Take a medium brush and your first coat – this could be an undercoat or you can go straight to the colour coat if you are using the Glasshouse Girl kit. 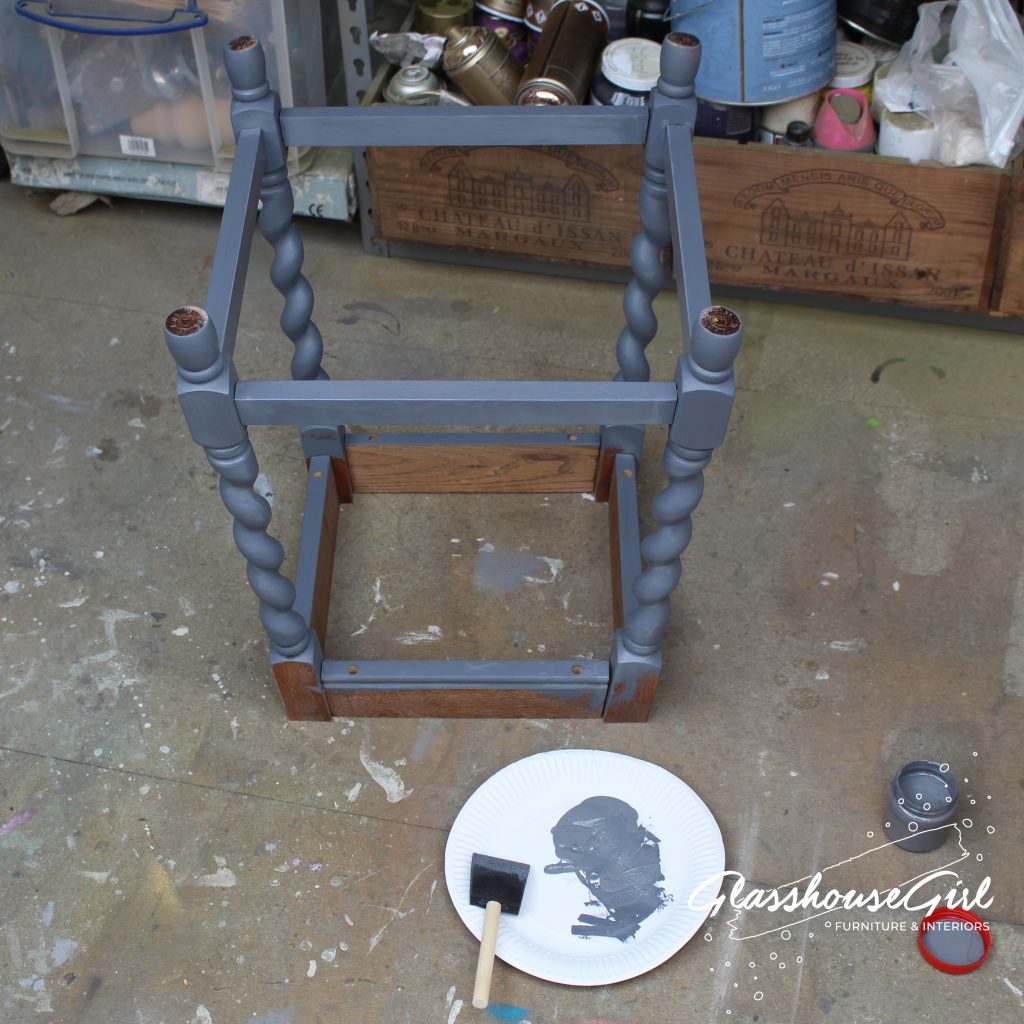
Paint a thin layer on to each part of the base working methodically. 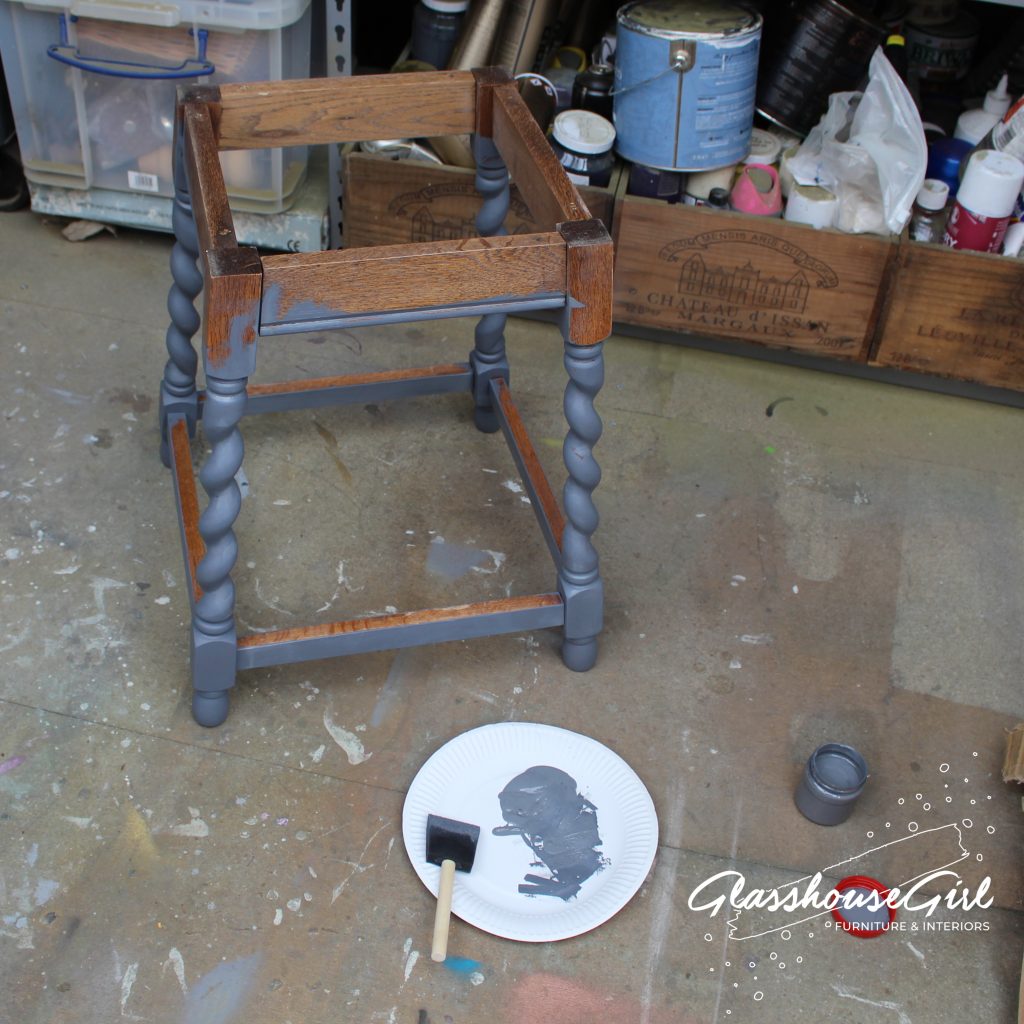
Turn the base to complete the first coat. 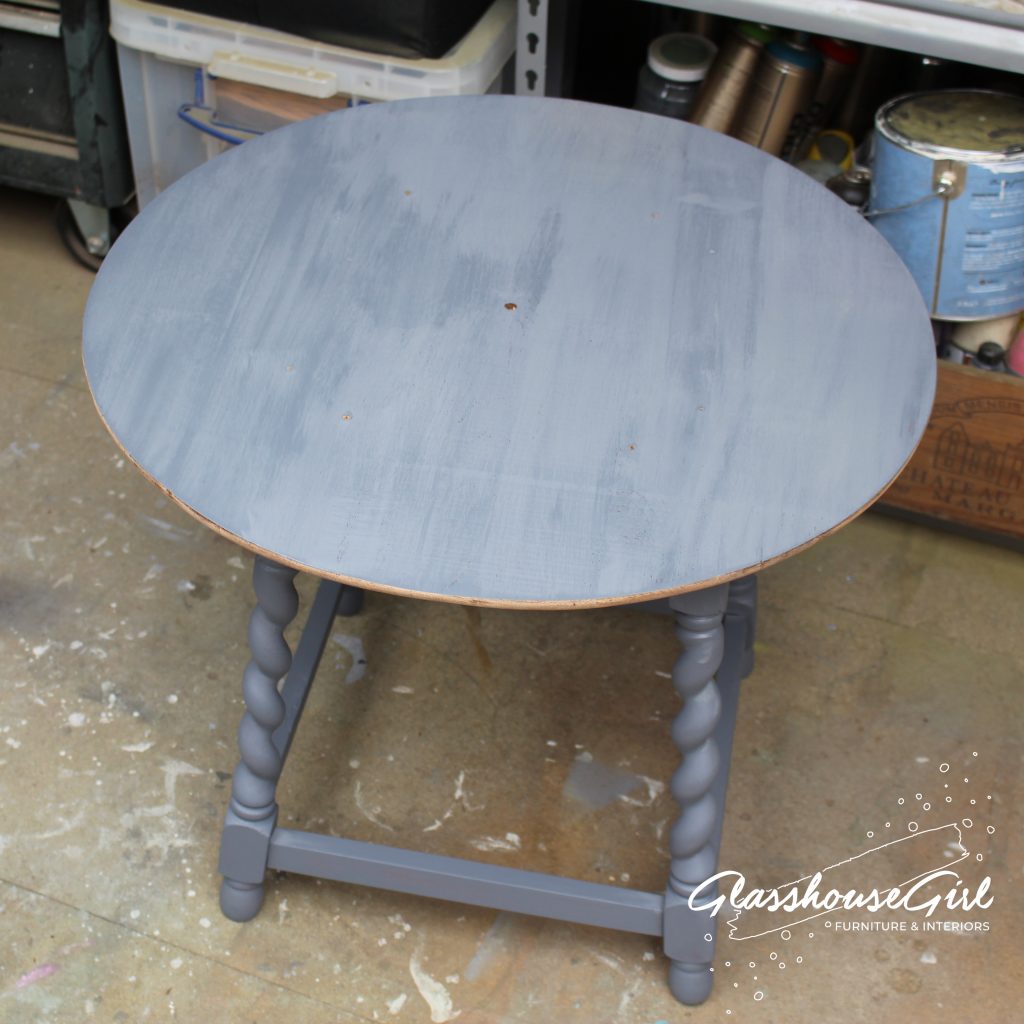
Paint the underneath of the top. 
Leave 2 hours between coats. 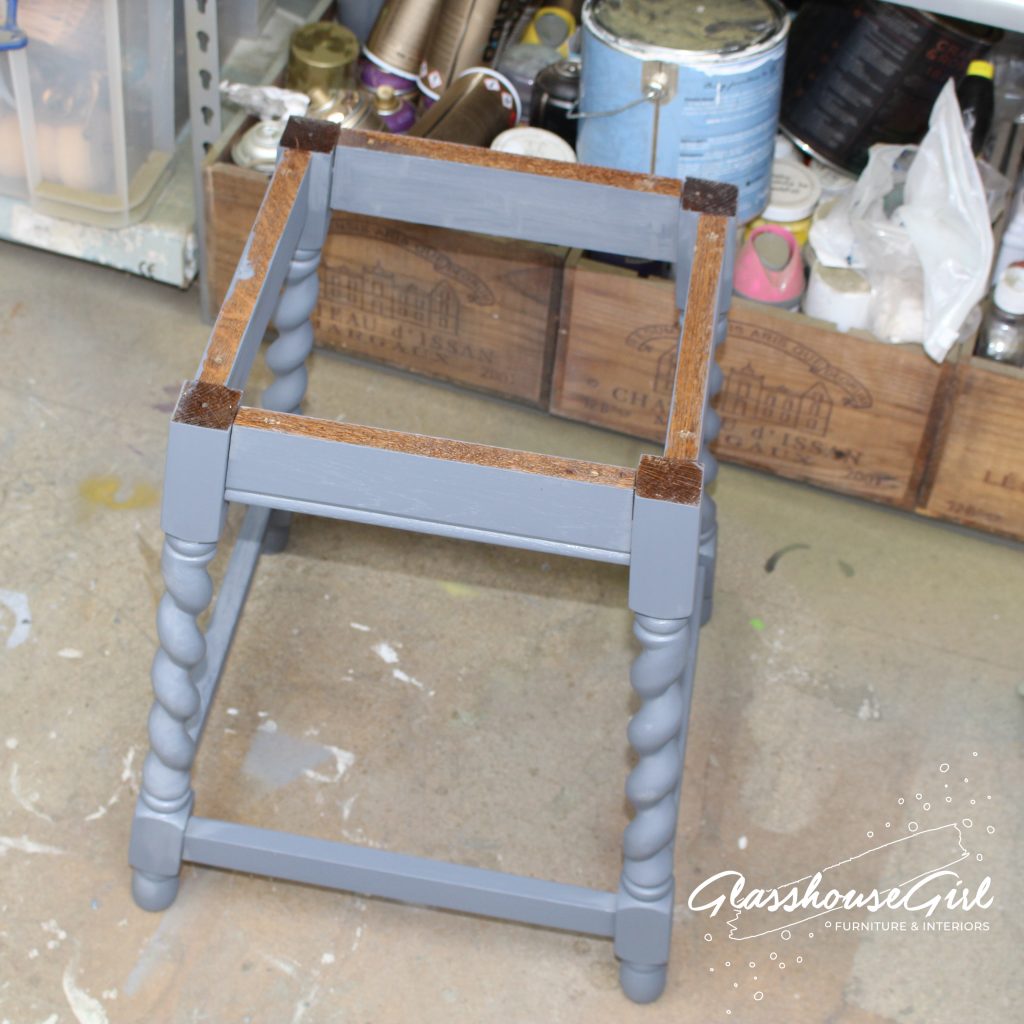
Repeat with a second coat colour coat if you are using the Glasshouse Girl kit or two colour coats if you are undercoating. 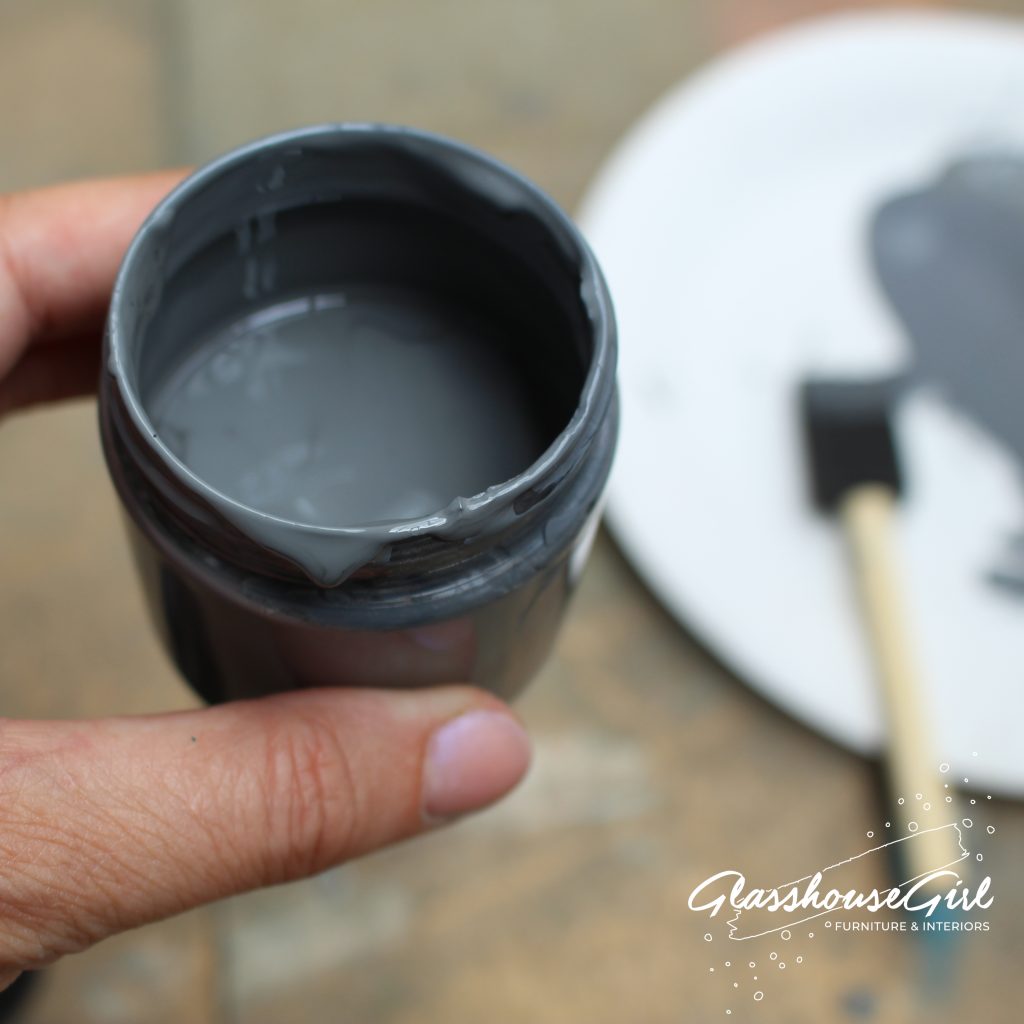
I used about 1/3rd of the colour coat provided in the Glasshouse Girl kit. 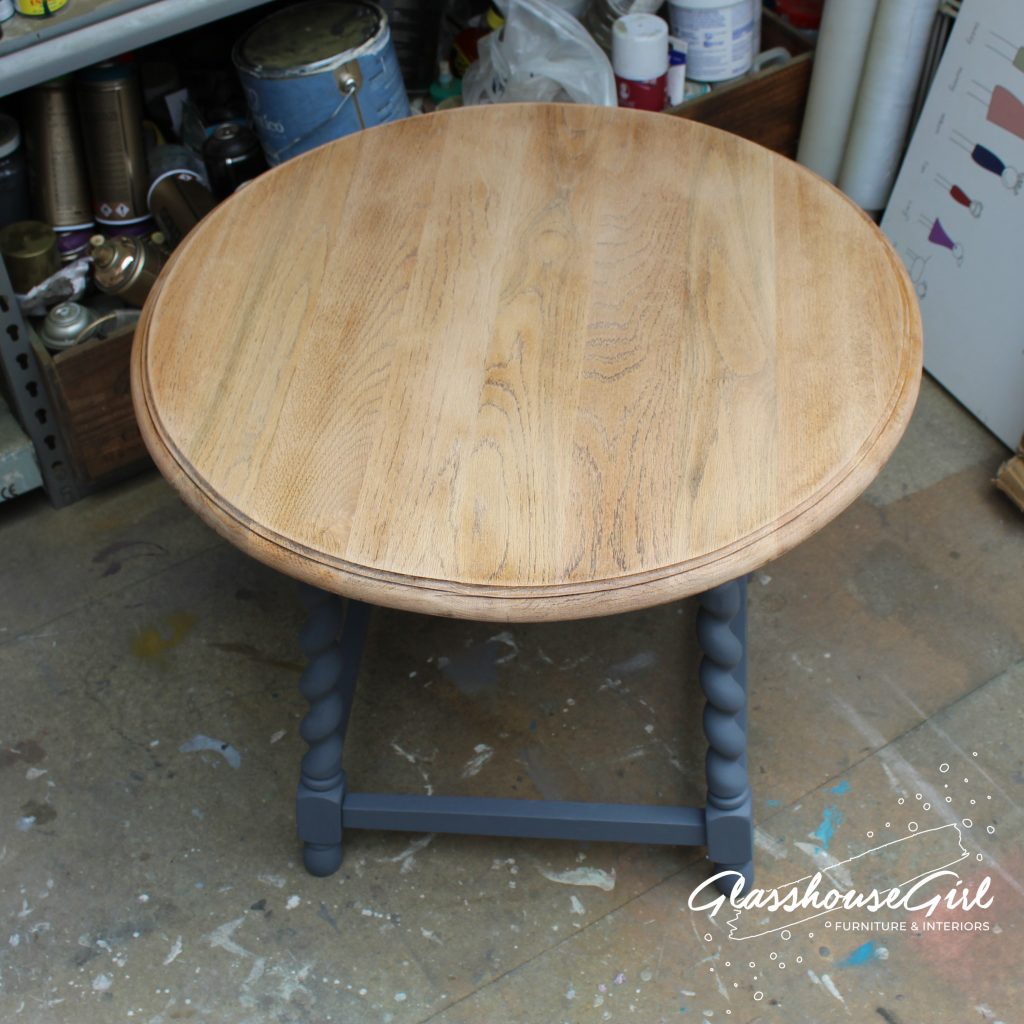
Reattached the base to the top. 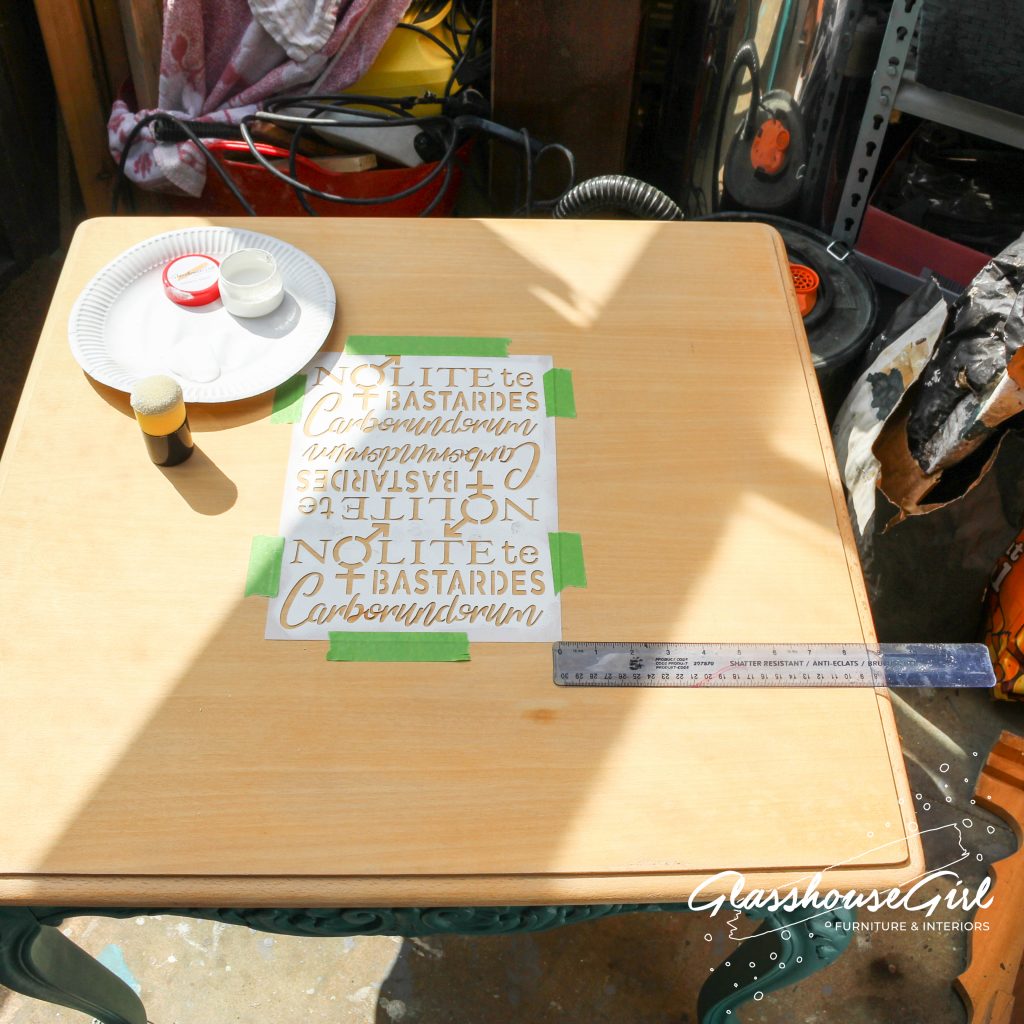
Place the stencil in place (measuring the centre point if you want) and tape in place. You can buy the stencil on its own here! 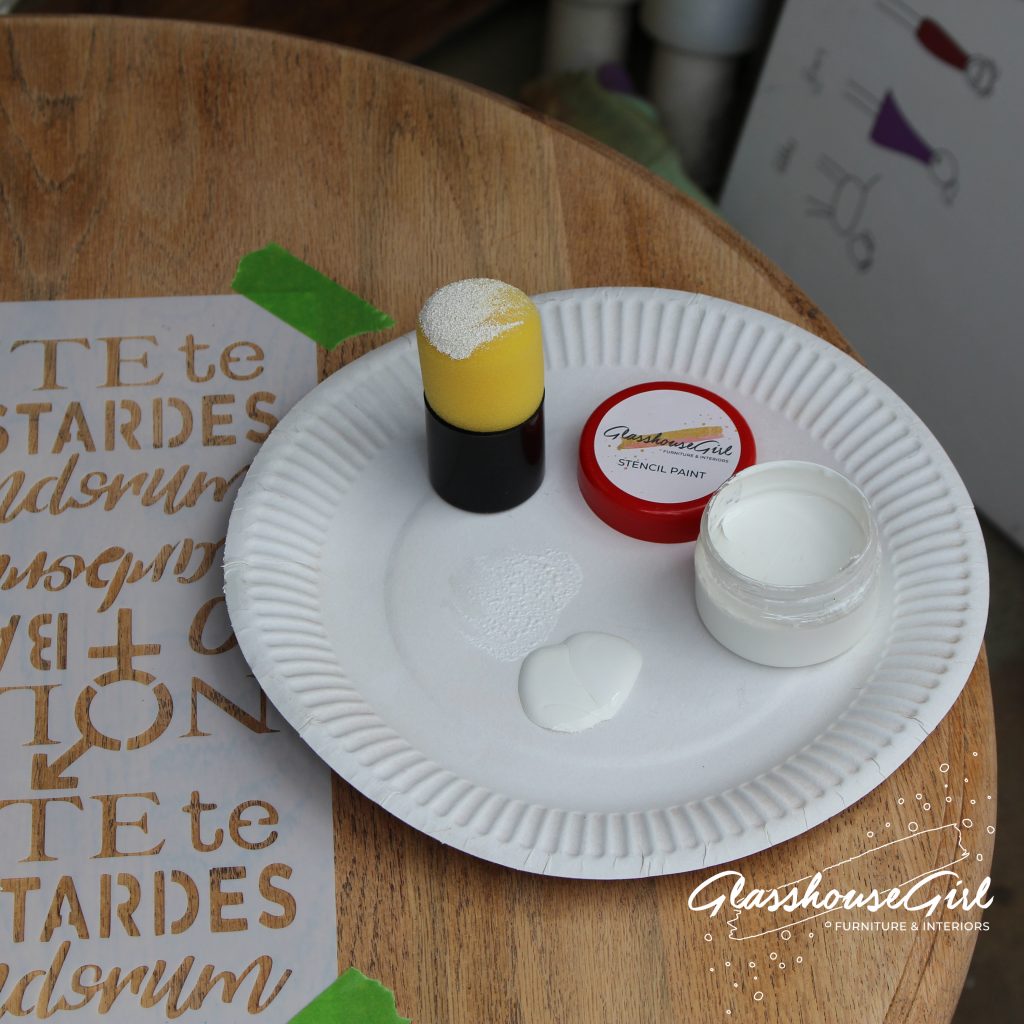
Prepare your stencil paint by pouring onto a plate. Dip the stencil pouncer into the paint and dab on the plate to remove any excess. 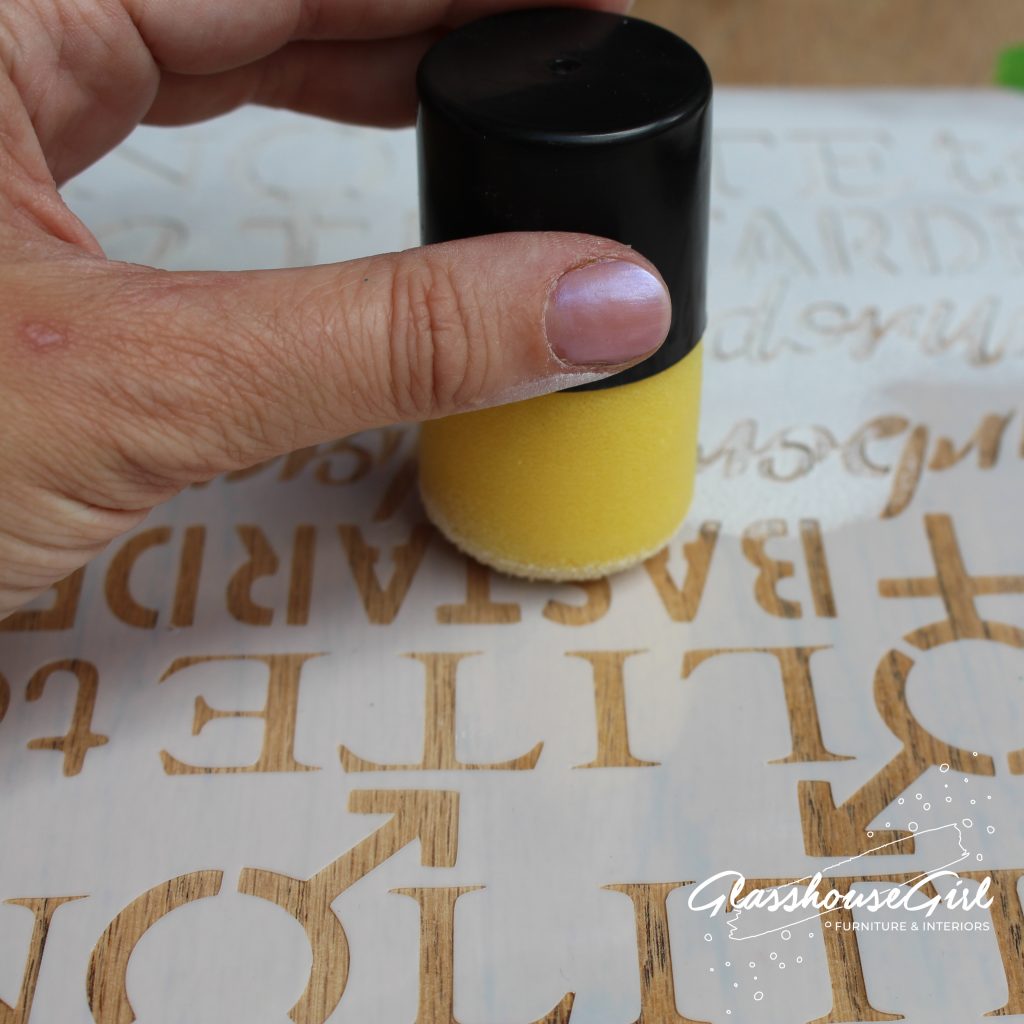
Push the pouncer down onto the positioned stencil at 90 degrees. Repeat until you achieve the desired level of coverage. 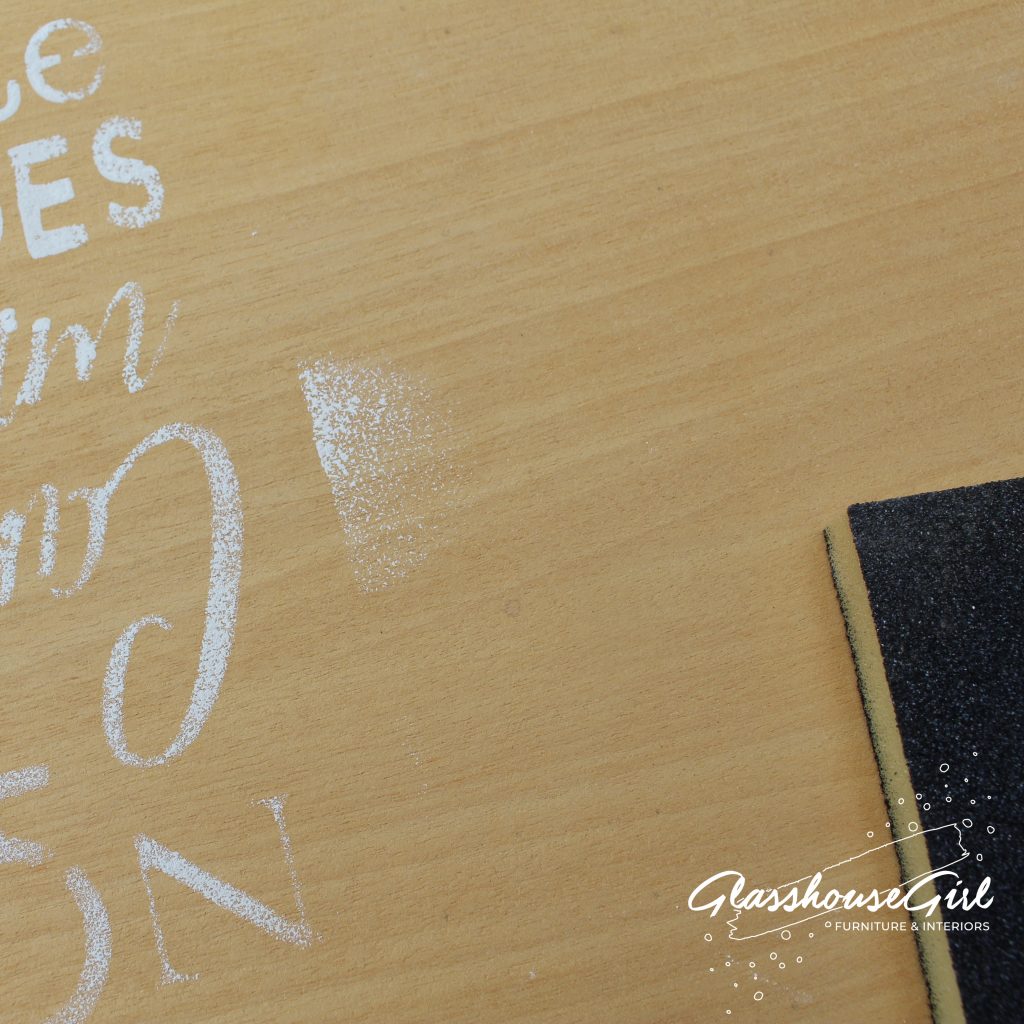
Ooops, I overshot the edge! 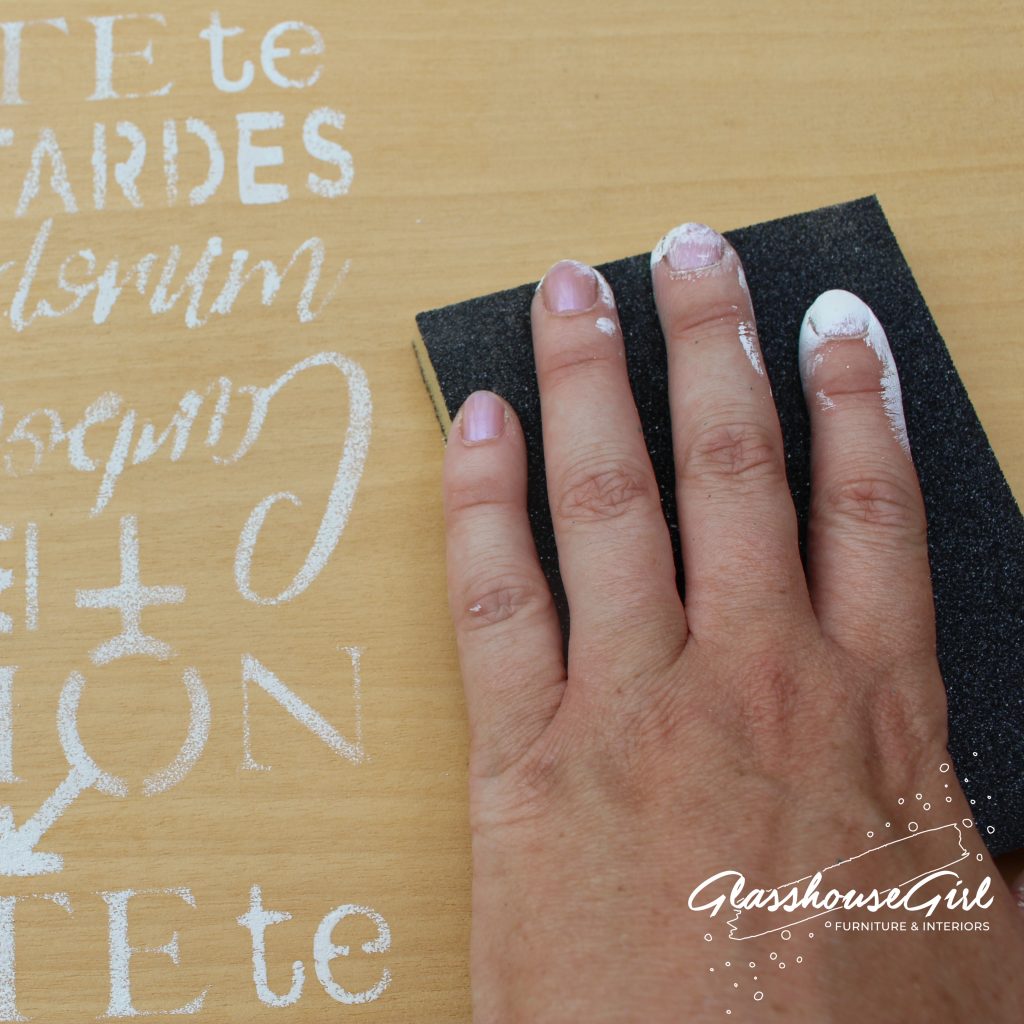
Don’t worry, just sand the excess paint off with your sanding pad! 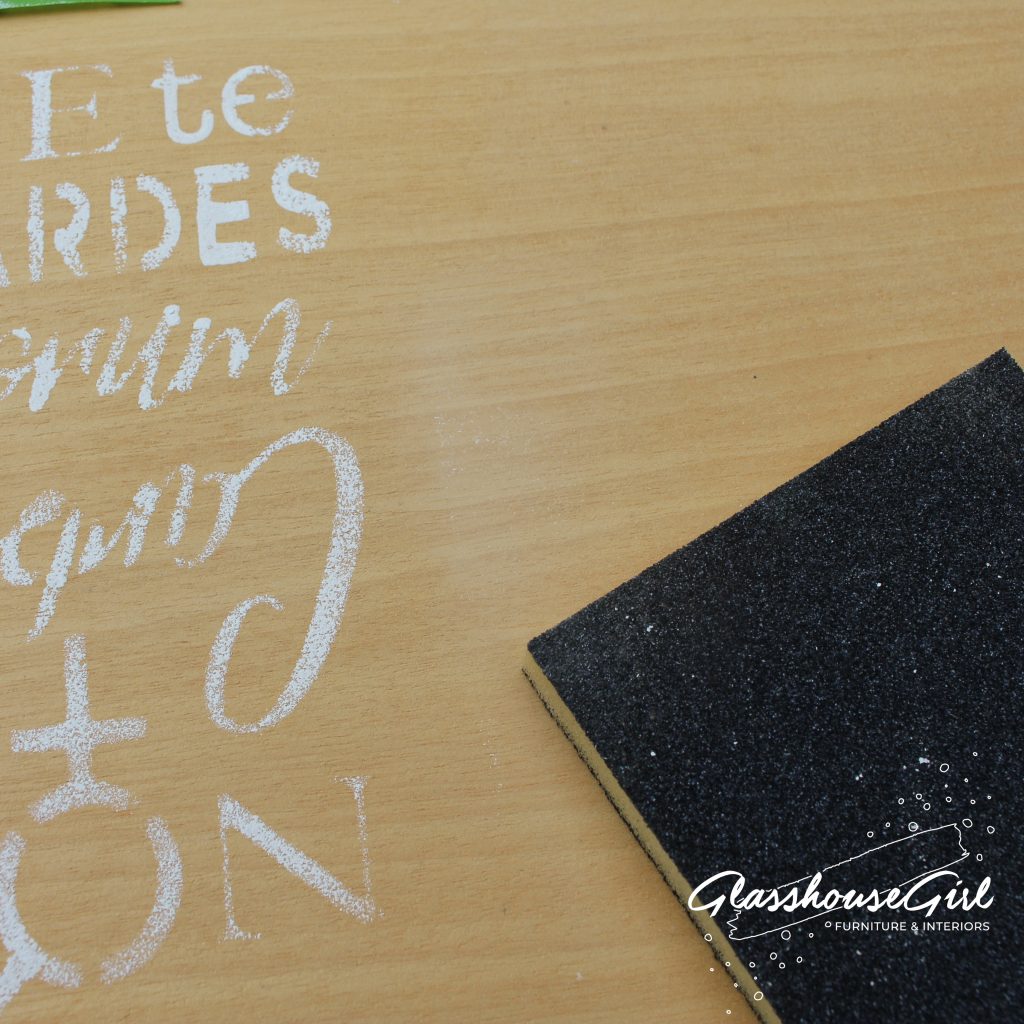
See, all gone! 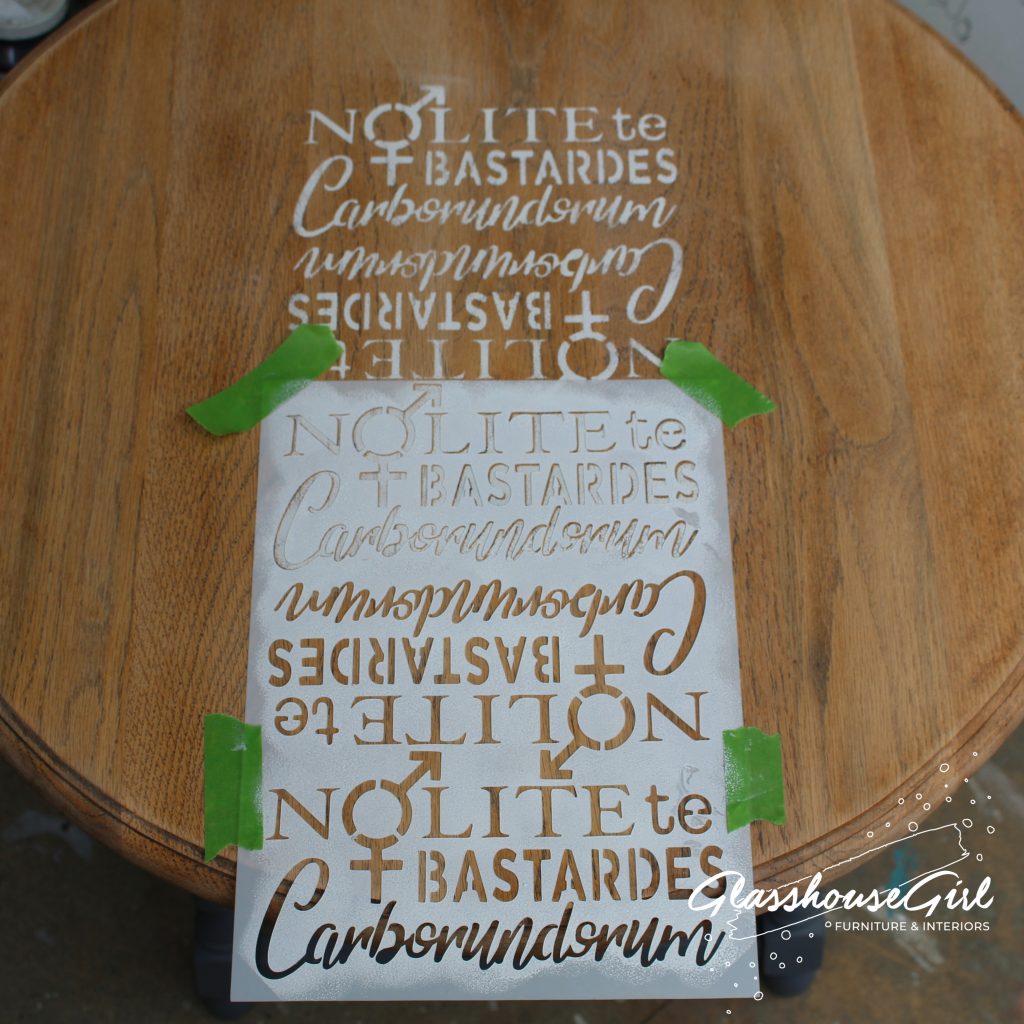
Use the previous stencil edge to line up the next. 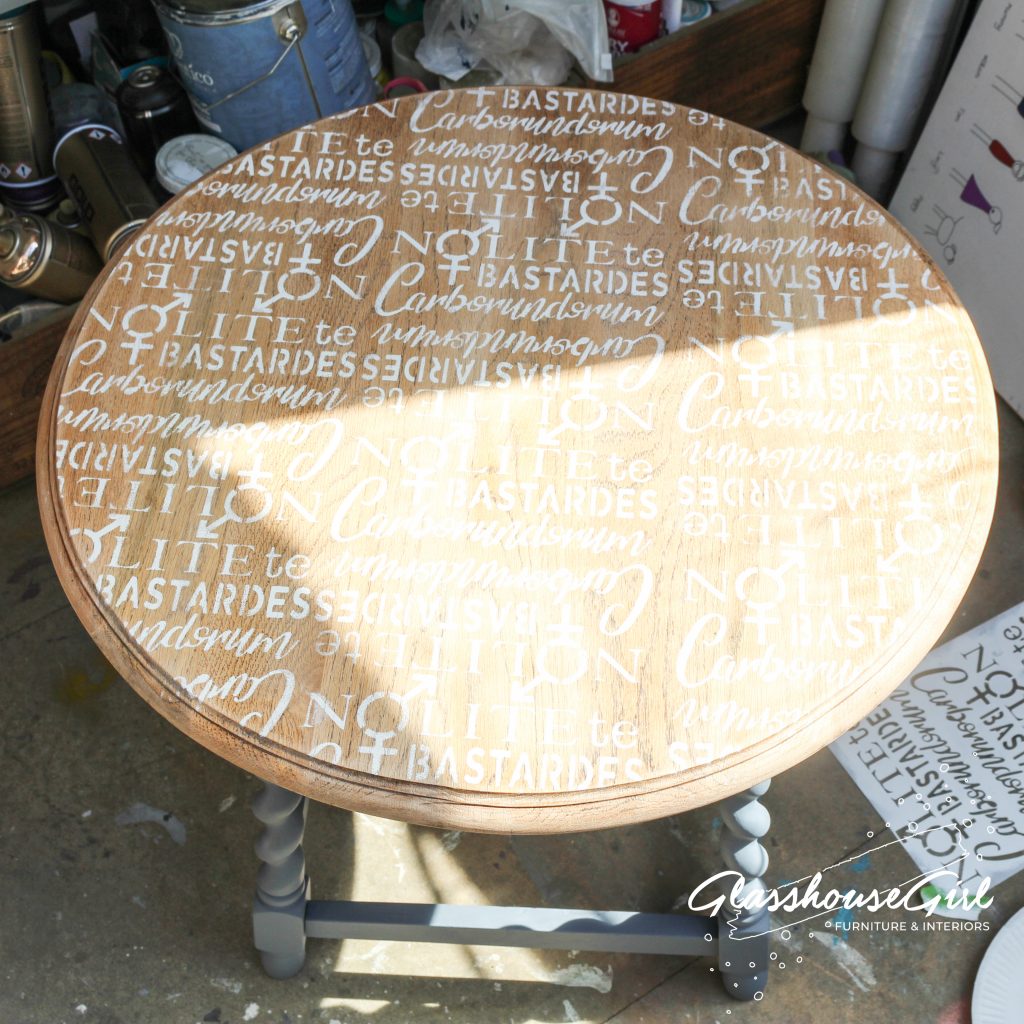
Repeat until the whole table top is covered. 
Let the stencilling dry for at least 15 minutes or as per the manufacturer’s guidelines. 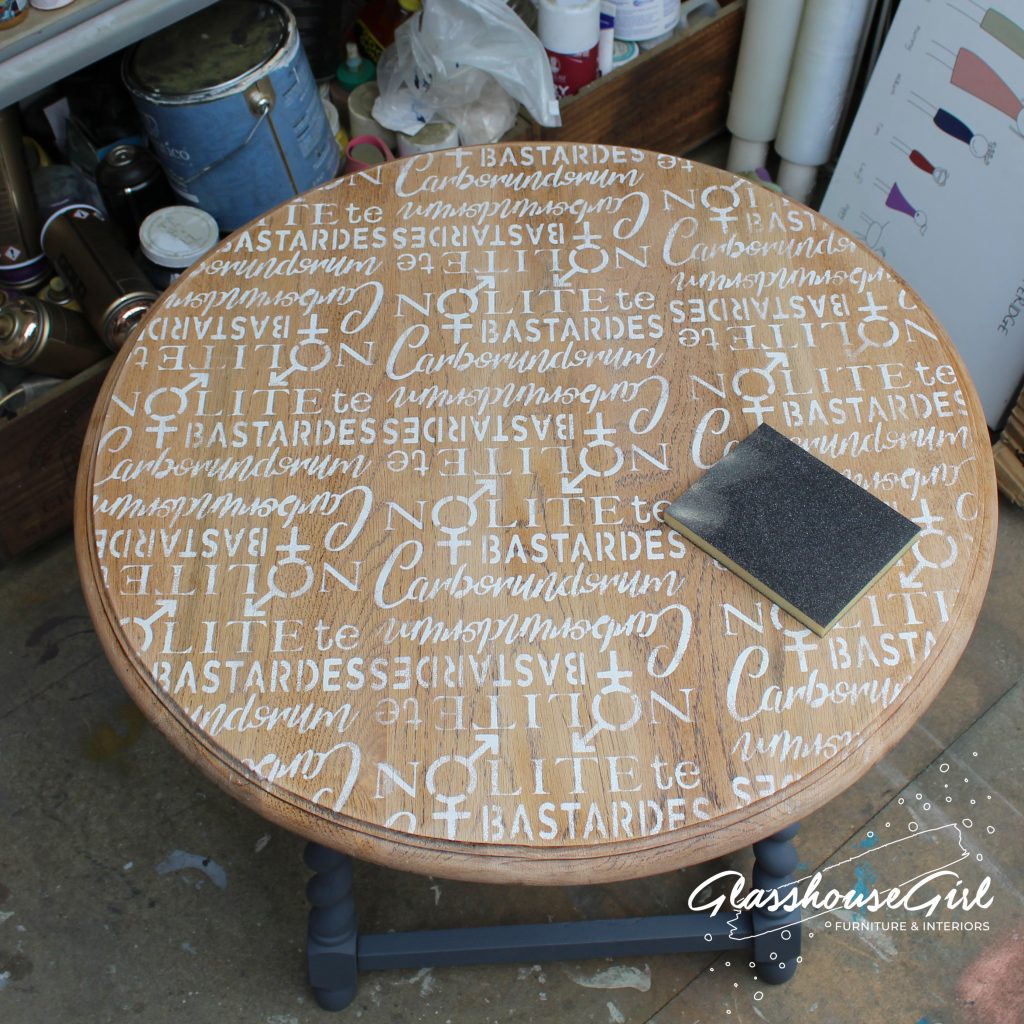
Once finished, give the entire top a sanding to remove any lumps and bumps. You can distress the stencilling as much or as little as you like! 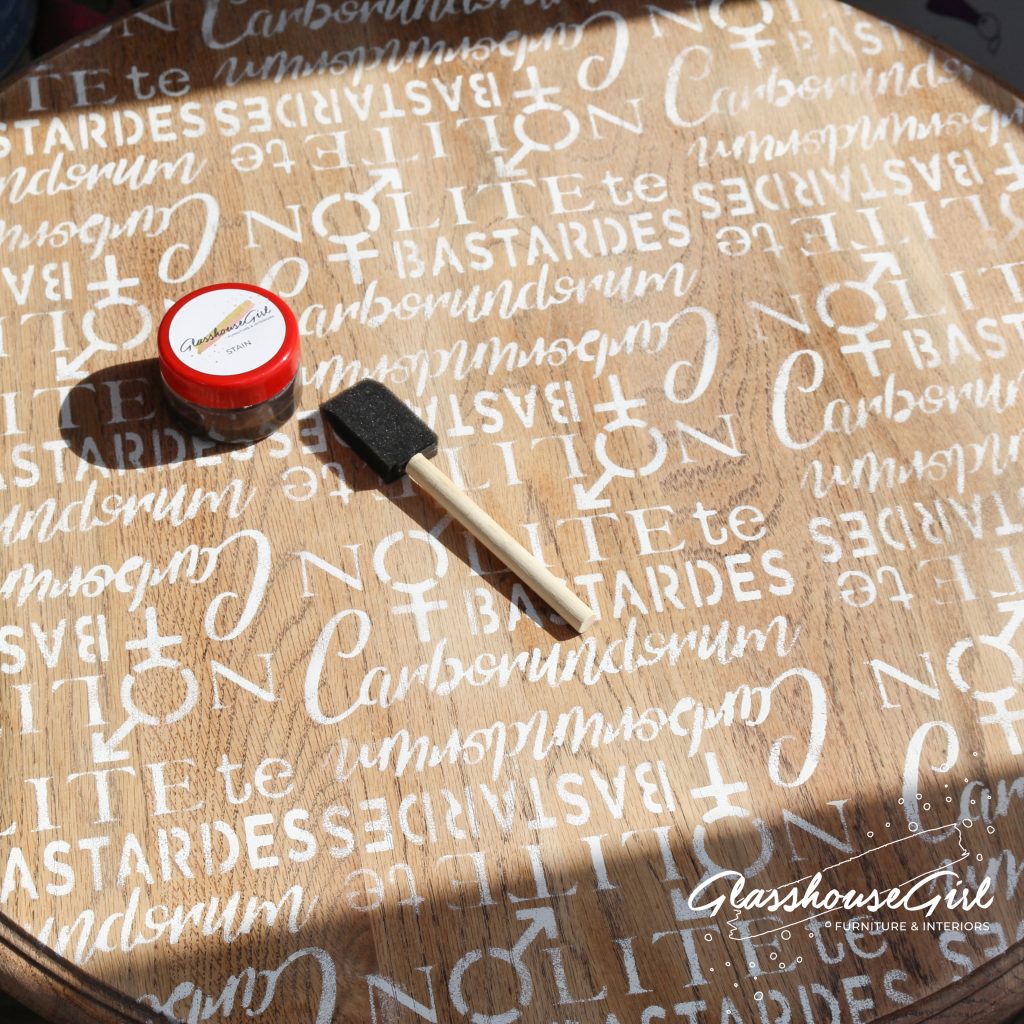
Take some wood stain and a brush. Using long strokes, stain the entire surface of the table. Wipe off any excess stain. 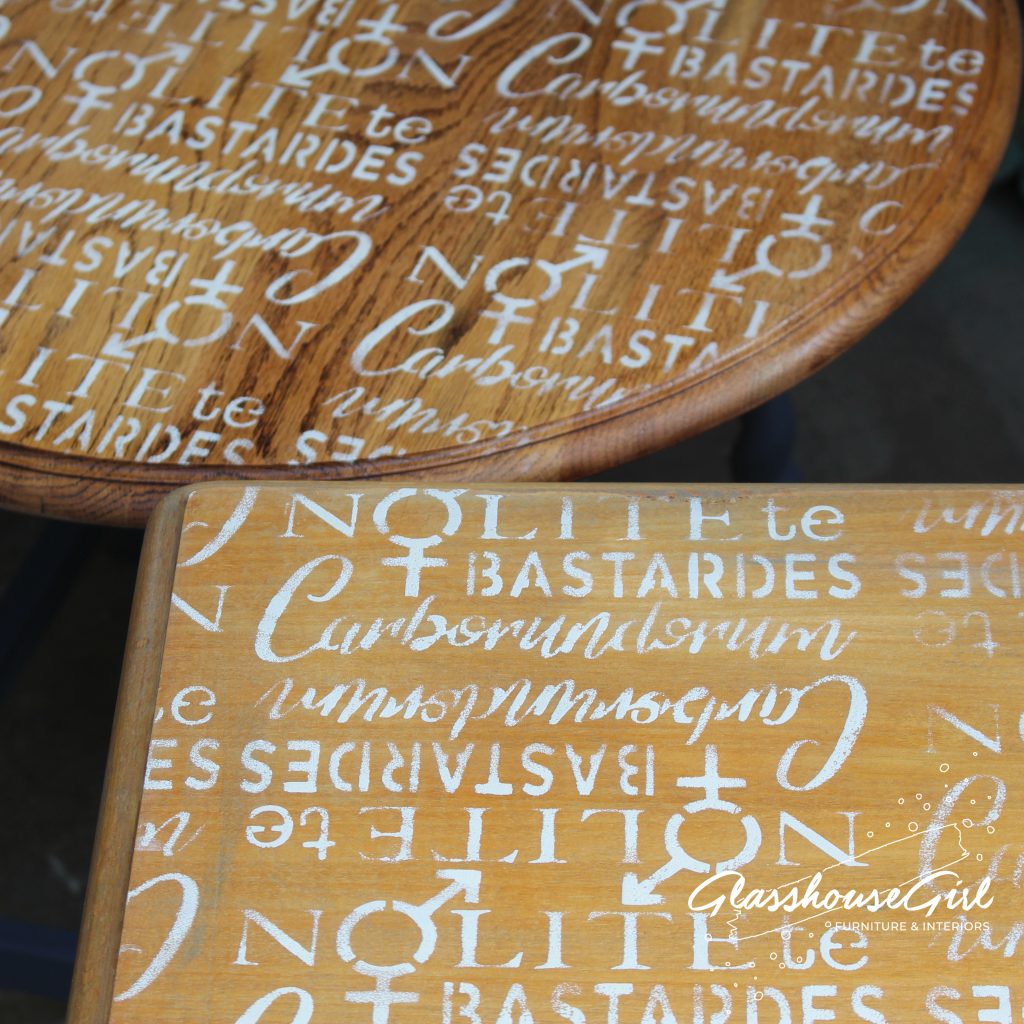
The stain brings out the grain of the wood and tints your stencilling. Every table will be different depending on its type. 
Let the stain dry for at least 30 minutes or as per the manufacturer’s guidelines. 
Take some varnish and pour into a bowl. Apply two full coats in long, quick strokes across the entire surface (and base if you like). 
Let the varnish dry for at least one hour between coats or as per the manufacturer’s guidelines. 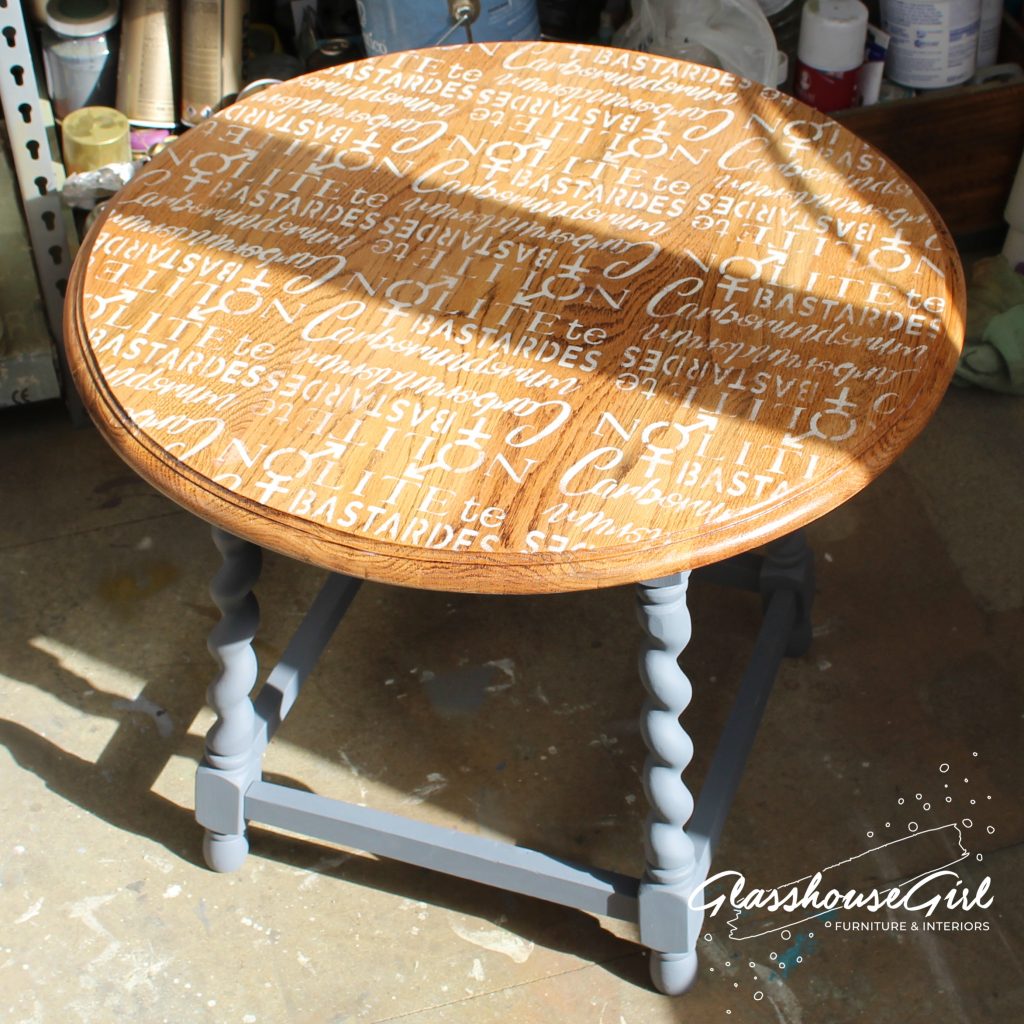
Here it is, the gorgeous finished table! 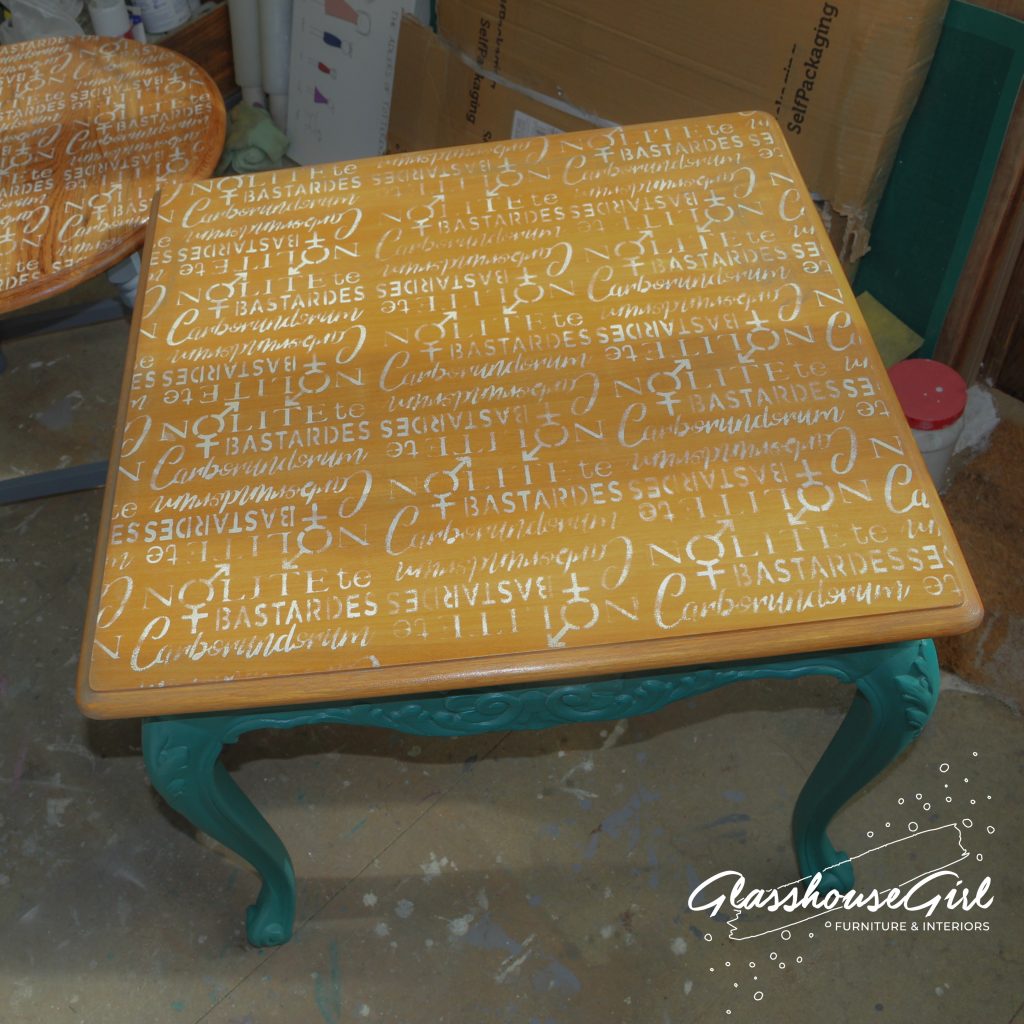
And a square version! 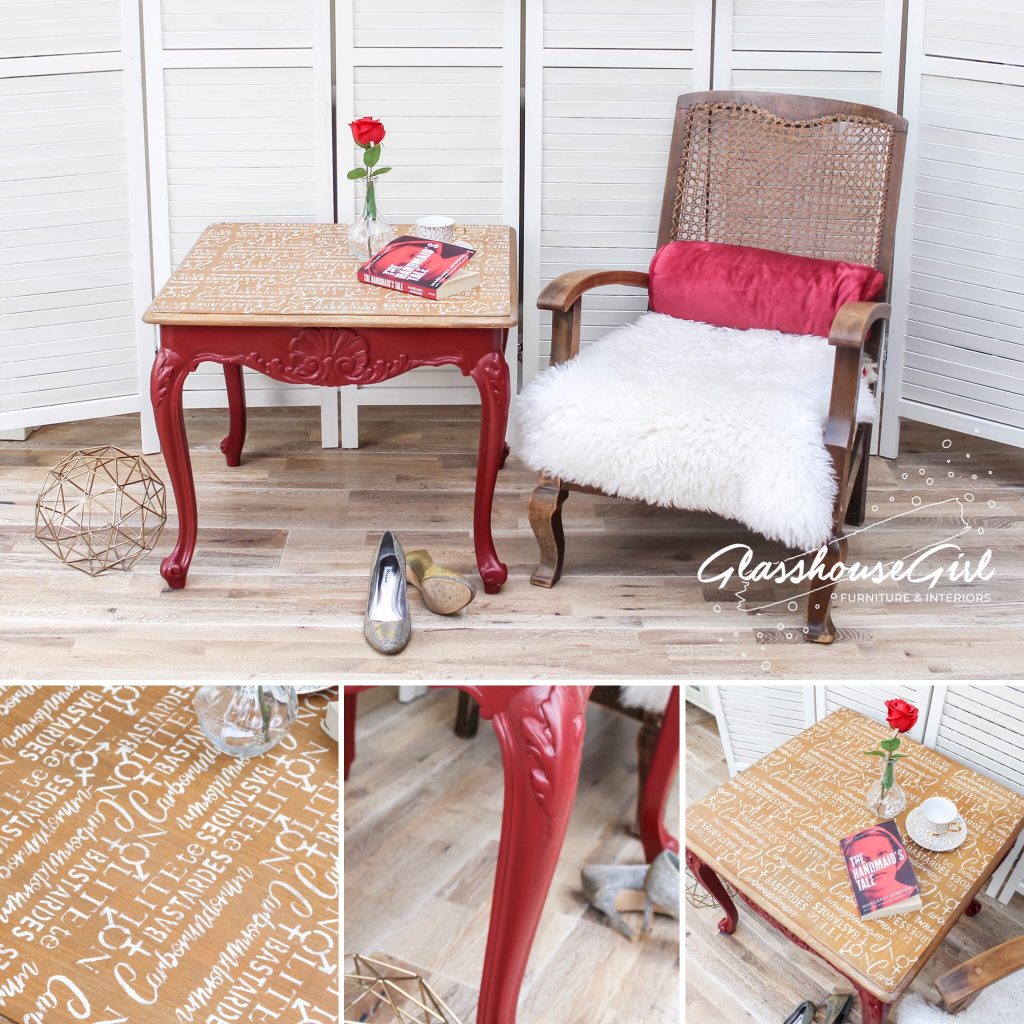
Here’s one I made earlier. You can buy it here!
I hope you enjoyed this tutorial! You can also buy all the materials to complete this transformation including the exclusive ‘Nolite te Bastardes’ stencil in my shop!
Don’t forget to sign up for my newsletter to be notified of new tutorials or follow me on social media @glasshousegirllondon.
I would also dearly love to see how you guys get on with your own stencilled coffee table transformations, so if I’ve inspired you, please tag @glasshousegirllondon wherever and whenever you can!!


Leave a Reply
You must be logged in to post a comment.