


People say you can’t but you CAN respray / paint your Rangemaster oven doors!
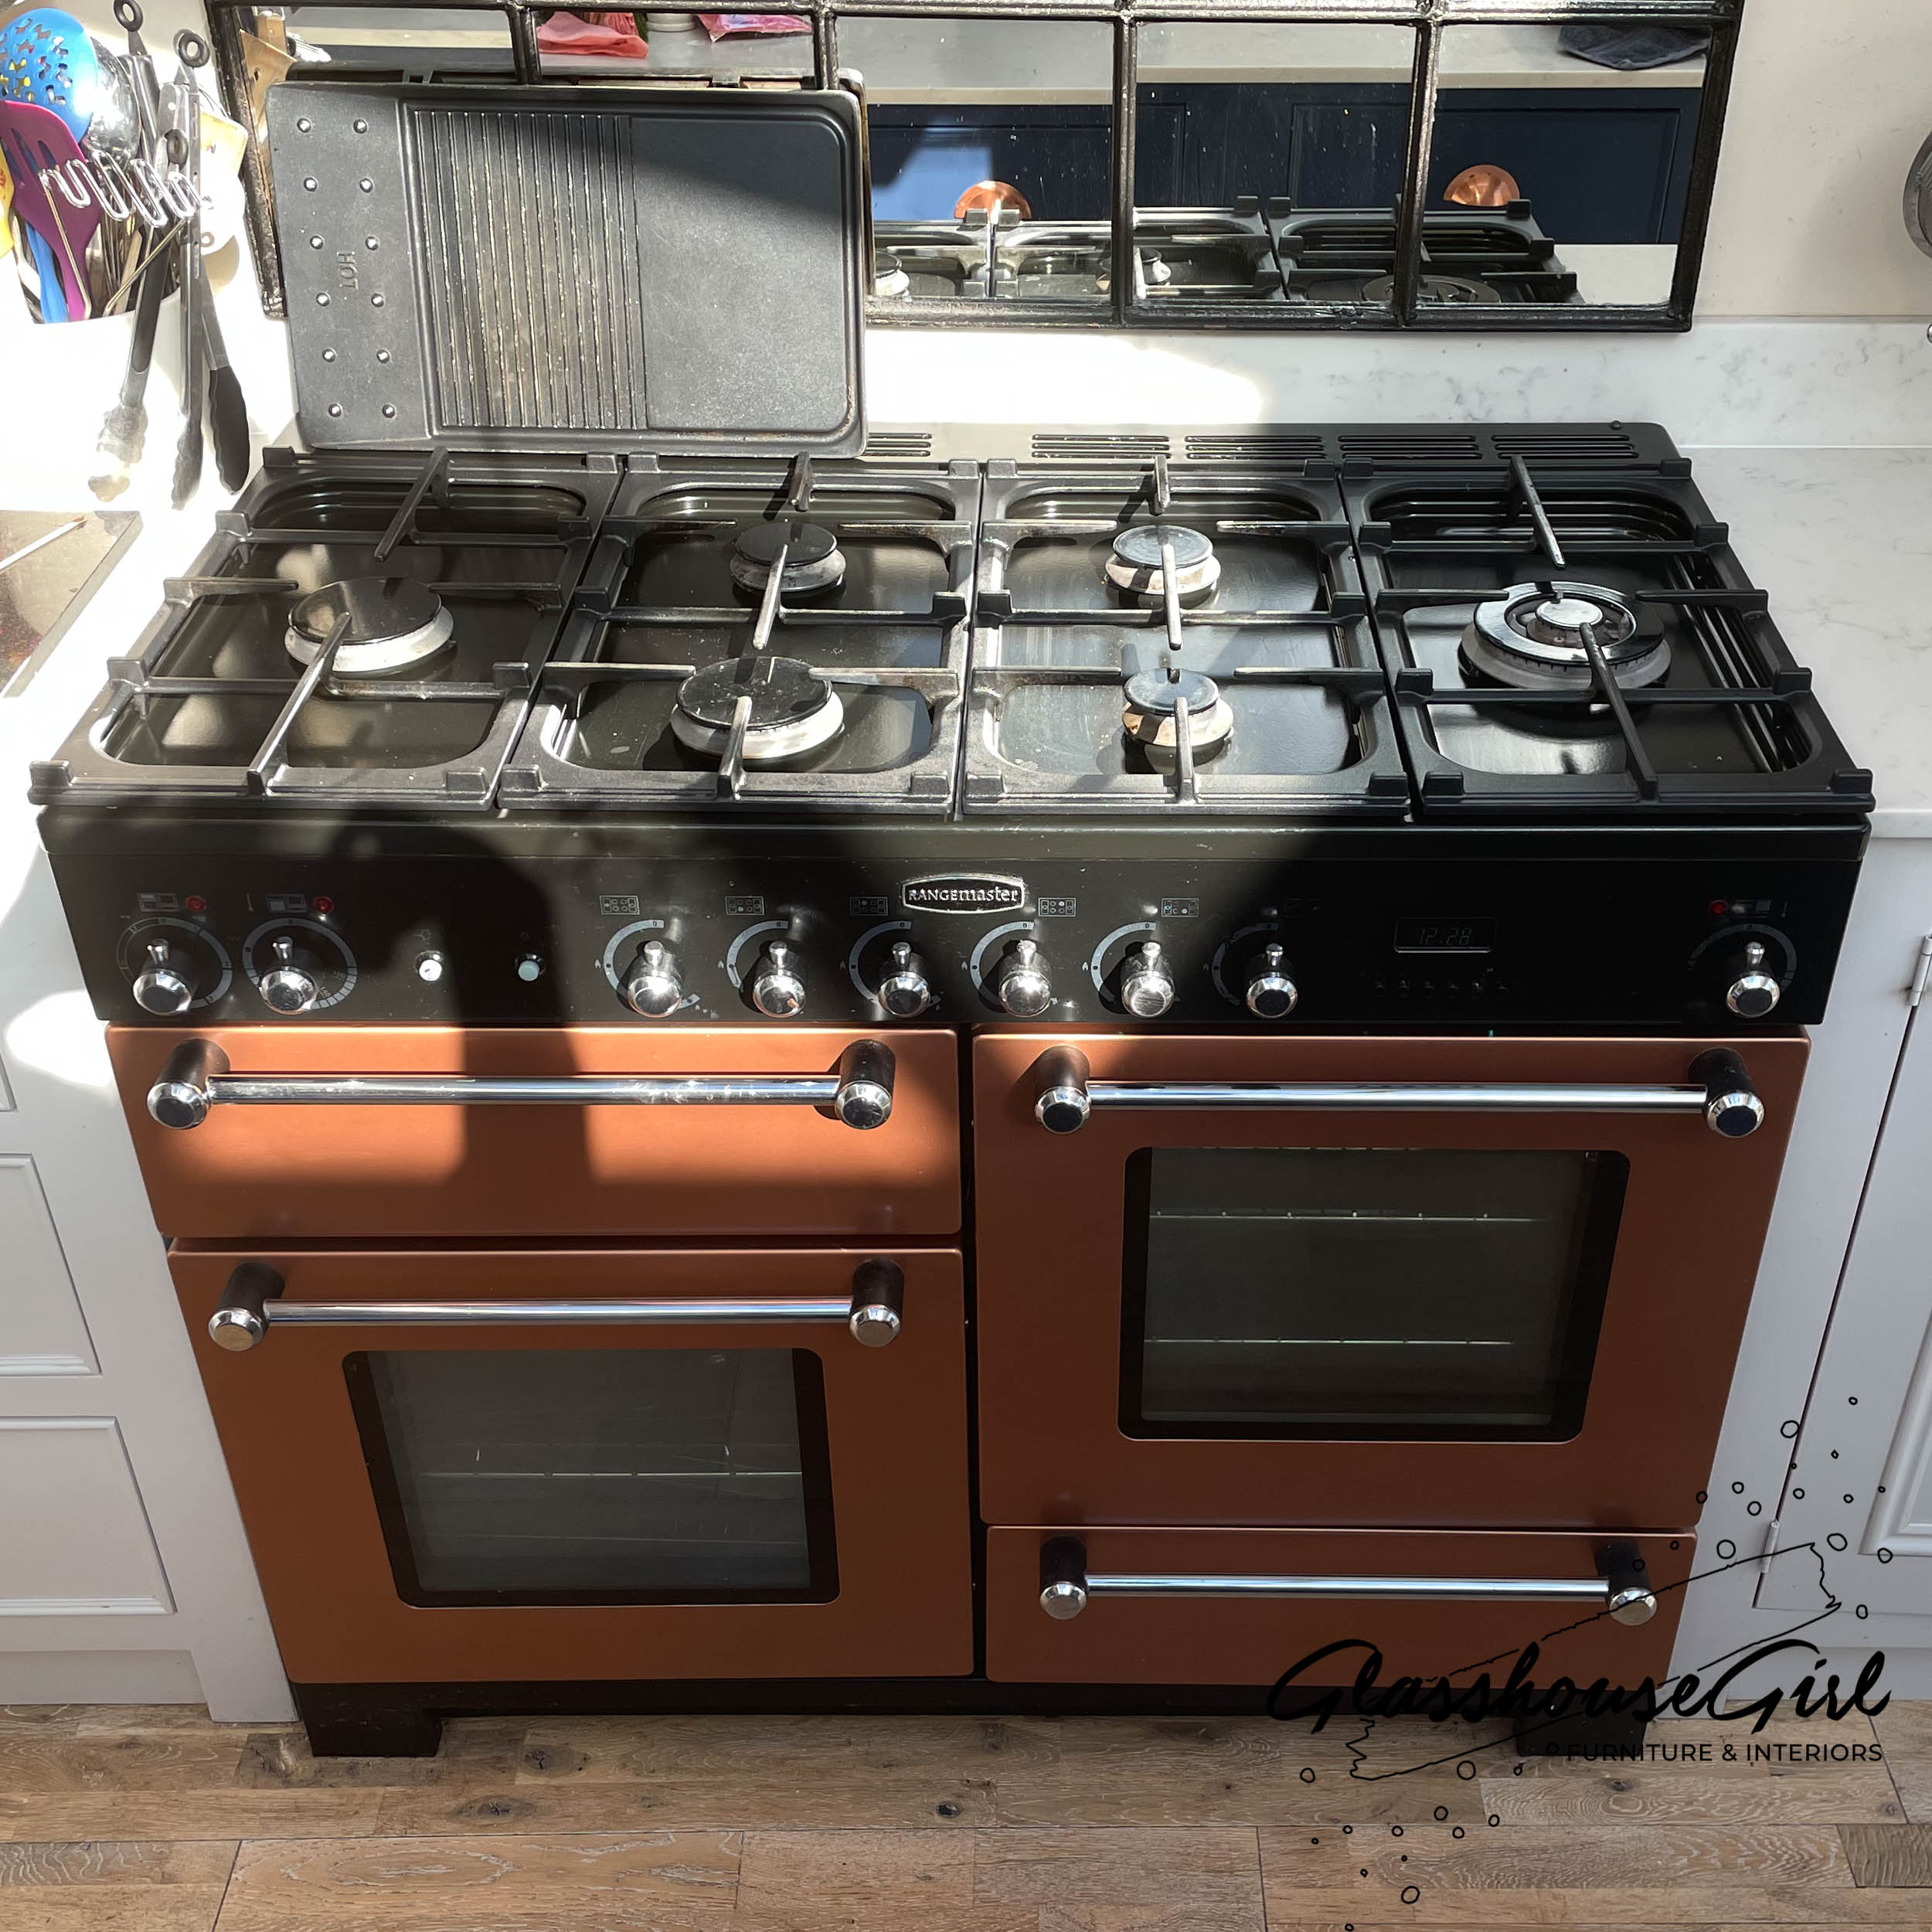
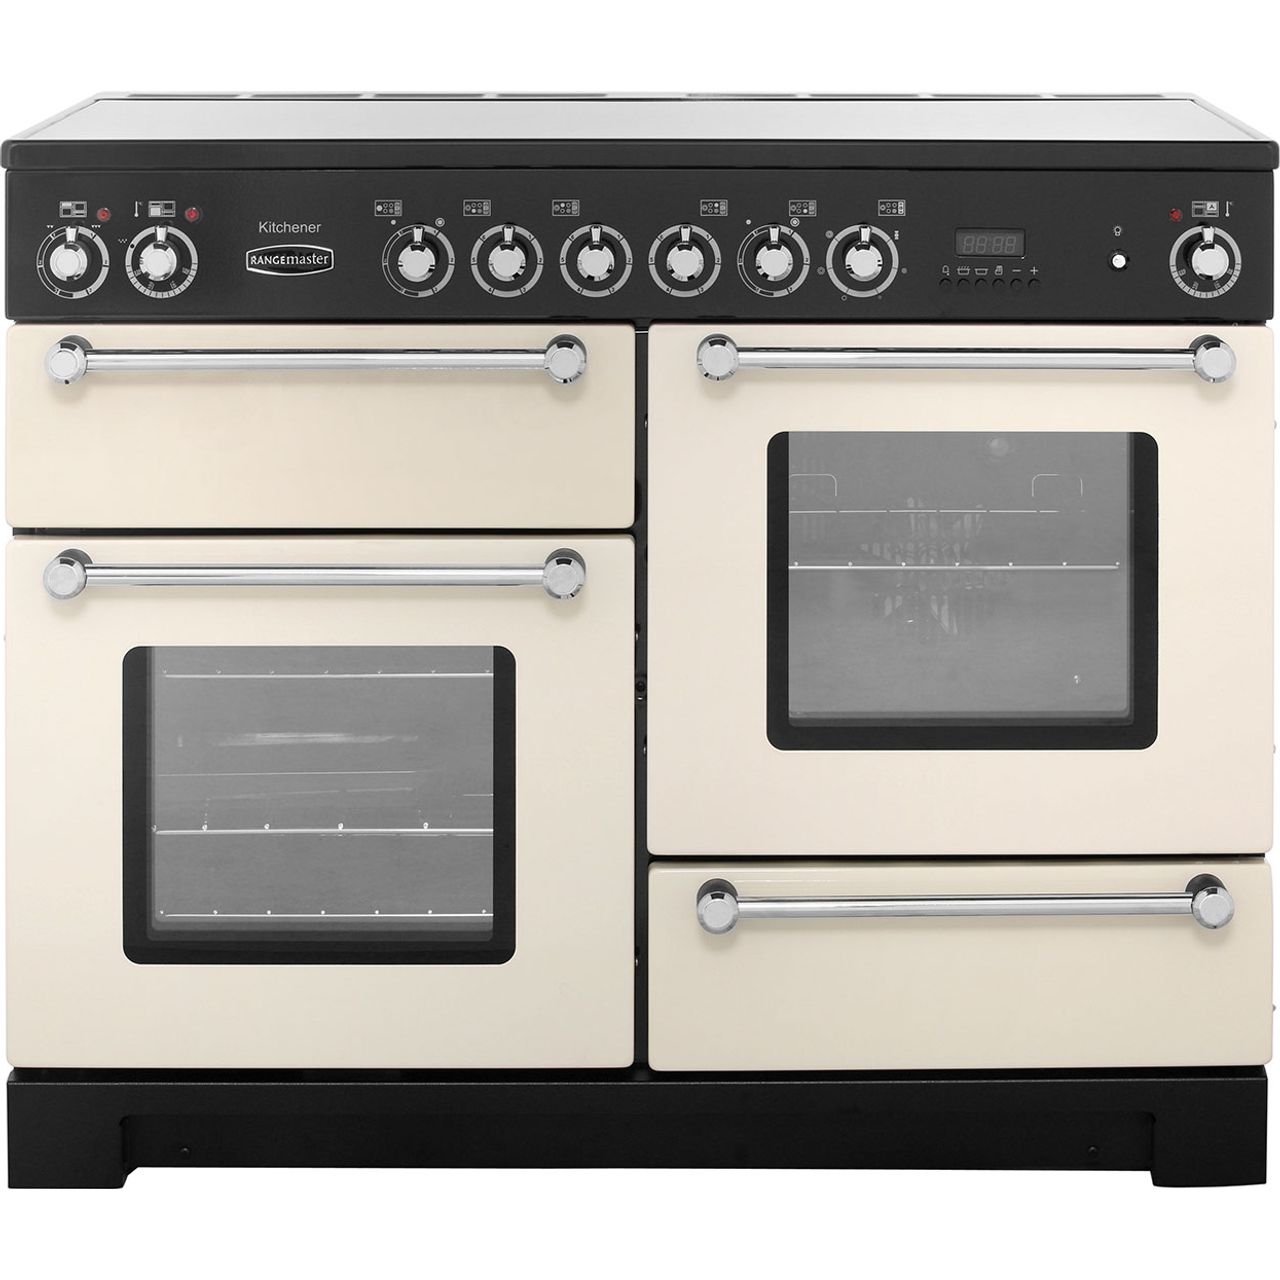
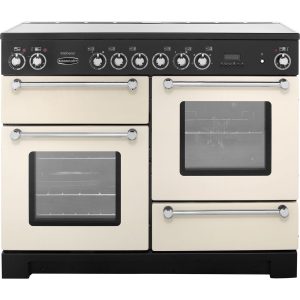
About 15 years ago, I was the very very proud purchasers of a Rangemaster cooker in cream enamel. It was my pride and joy! Recently, we saved for and invested in an extension which meant a new larger kitchen.
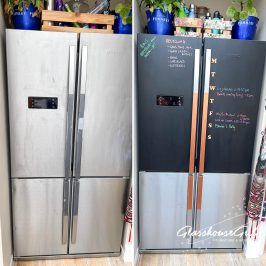
I really wanted the new colour scheme to white and deep blue which meant the cream oven wouldn’t work. There was nothing wrong with our existing oven, it just wouldn’t fit with the new colour scheme.
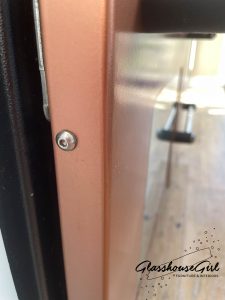
I agonised over sticking with a cream colour scheme or purchasing a new oven. What I really wanted was a copper door version of the oven I had but it just wasn’t available. And that was quite apart from spending all that money on a new range cooker!
I searched Google high and low for a way to change the colour of the doors. You can buy new doors in a specific set of colours. You could have had the existing doors sandblasted and powercoated. People said nothing sticks to enamel but with my Glasshouse experience of refinishing metal handles for furniture, I was confident that with the right products, there was way to DIY it at home.
This tutorial walks you through the products and steps I took to get myself a bespoke spray painted oven.
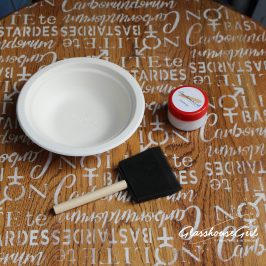
Oven Painting Materials
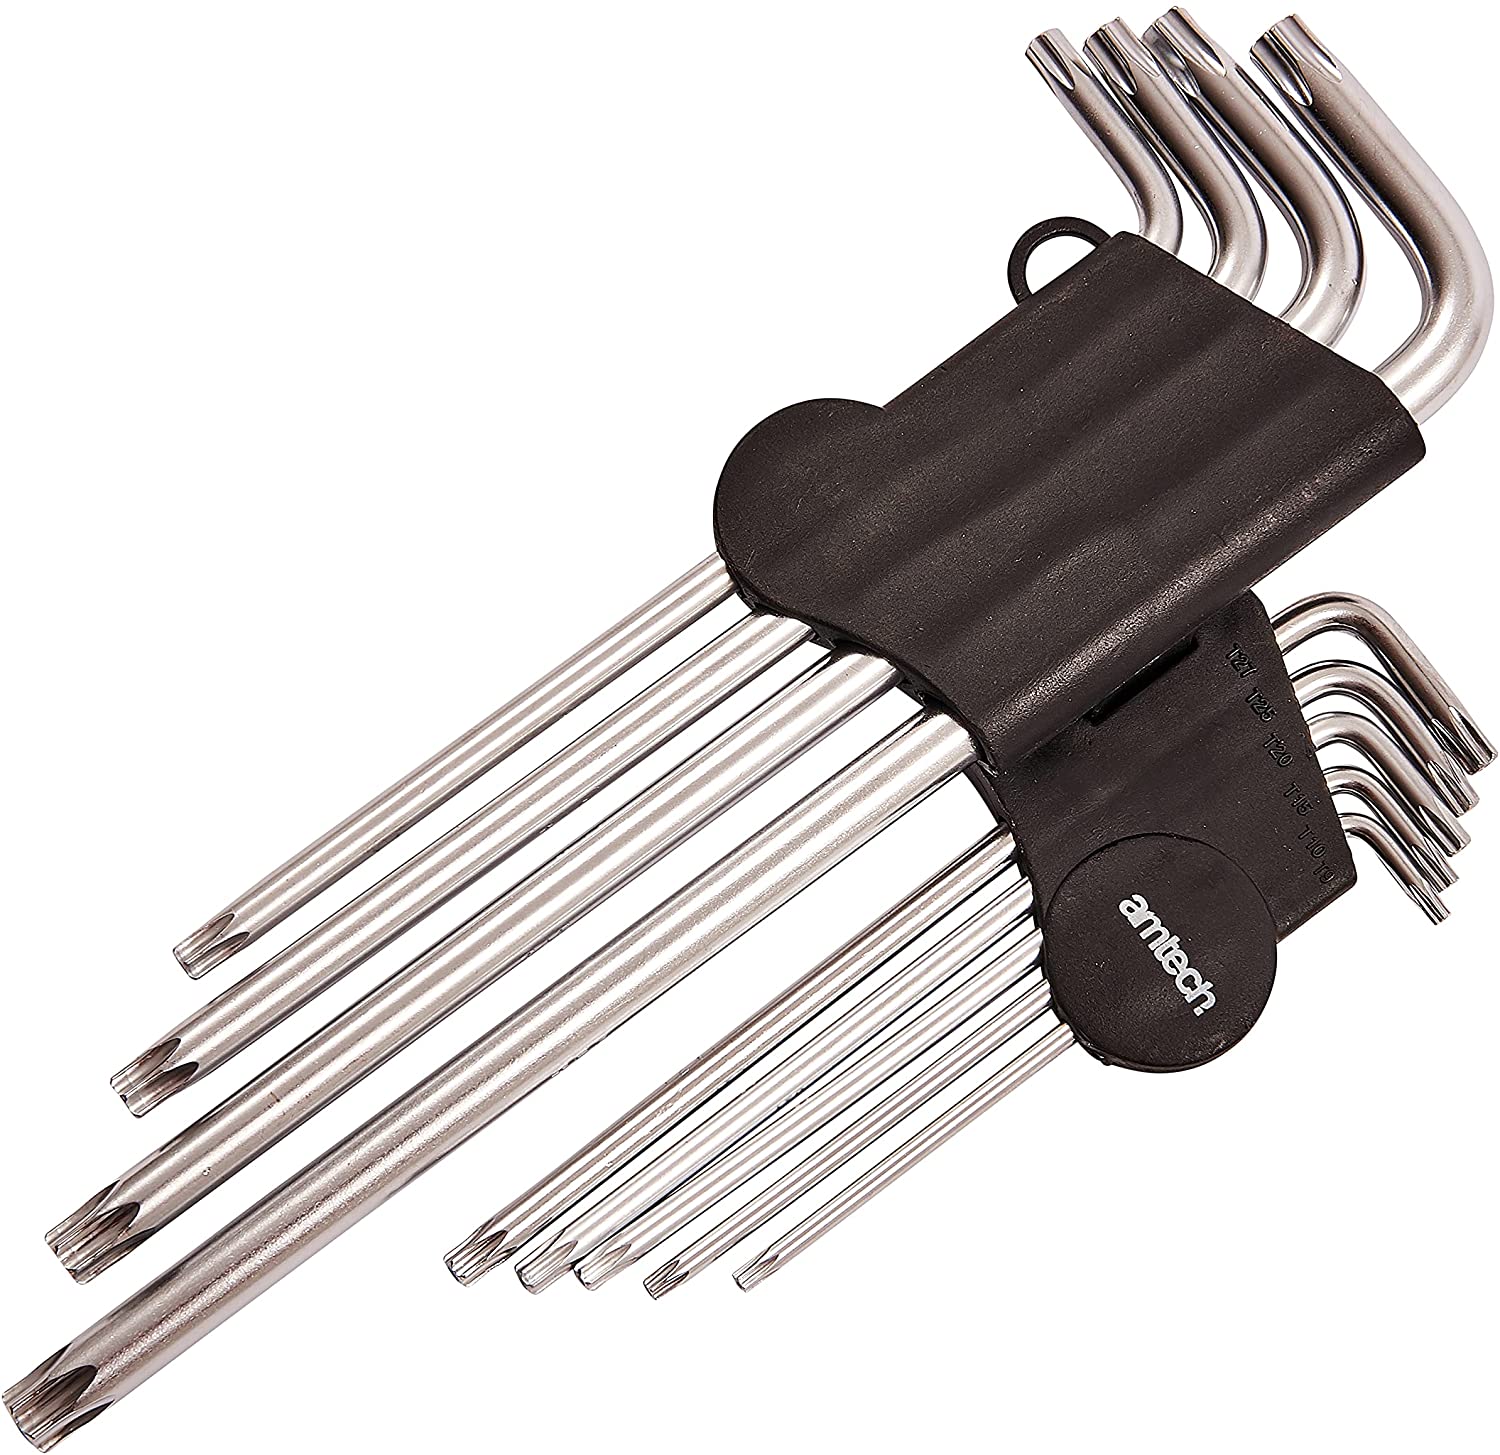
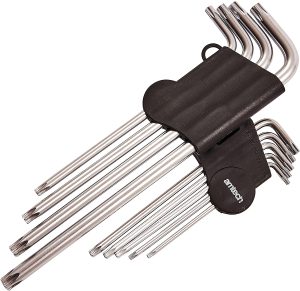
- Torx Key set
- Screwdrivers
- Adjustable spanner
- Washing up liquid
- Scouring sponge
- Sandpaper – 180 grit
- Frogtape
- Newspaper or other scrap paper
- Craft knife
- Protective mask suitable for spray painting
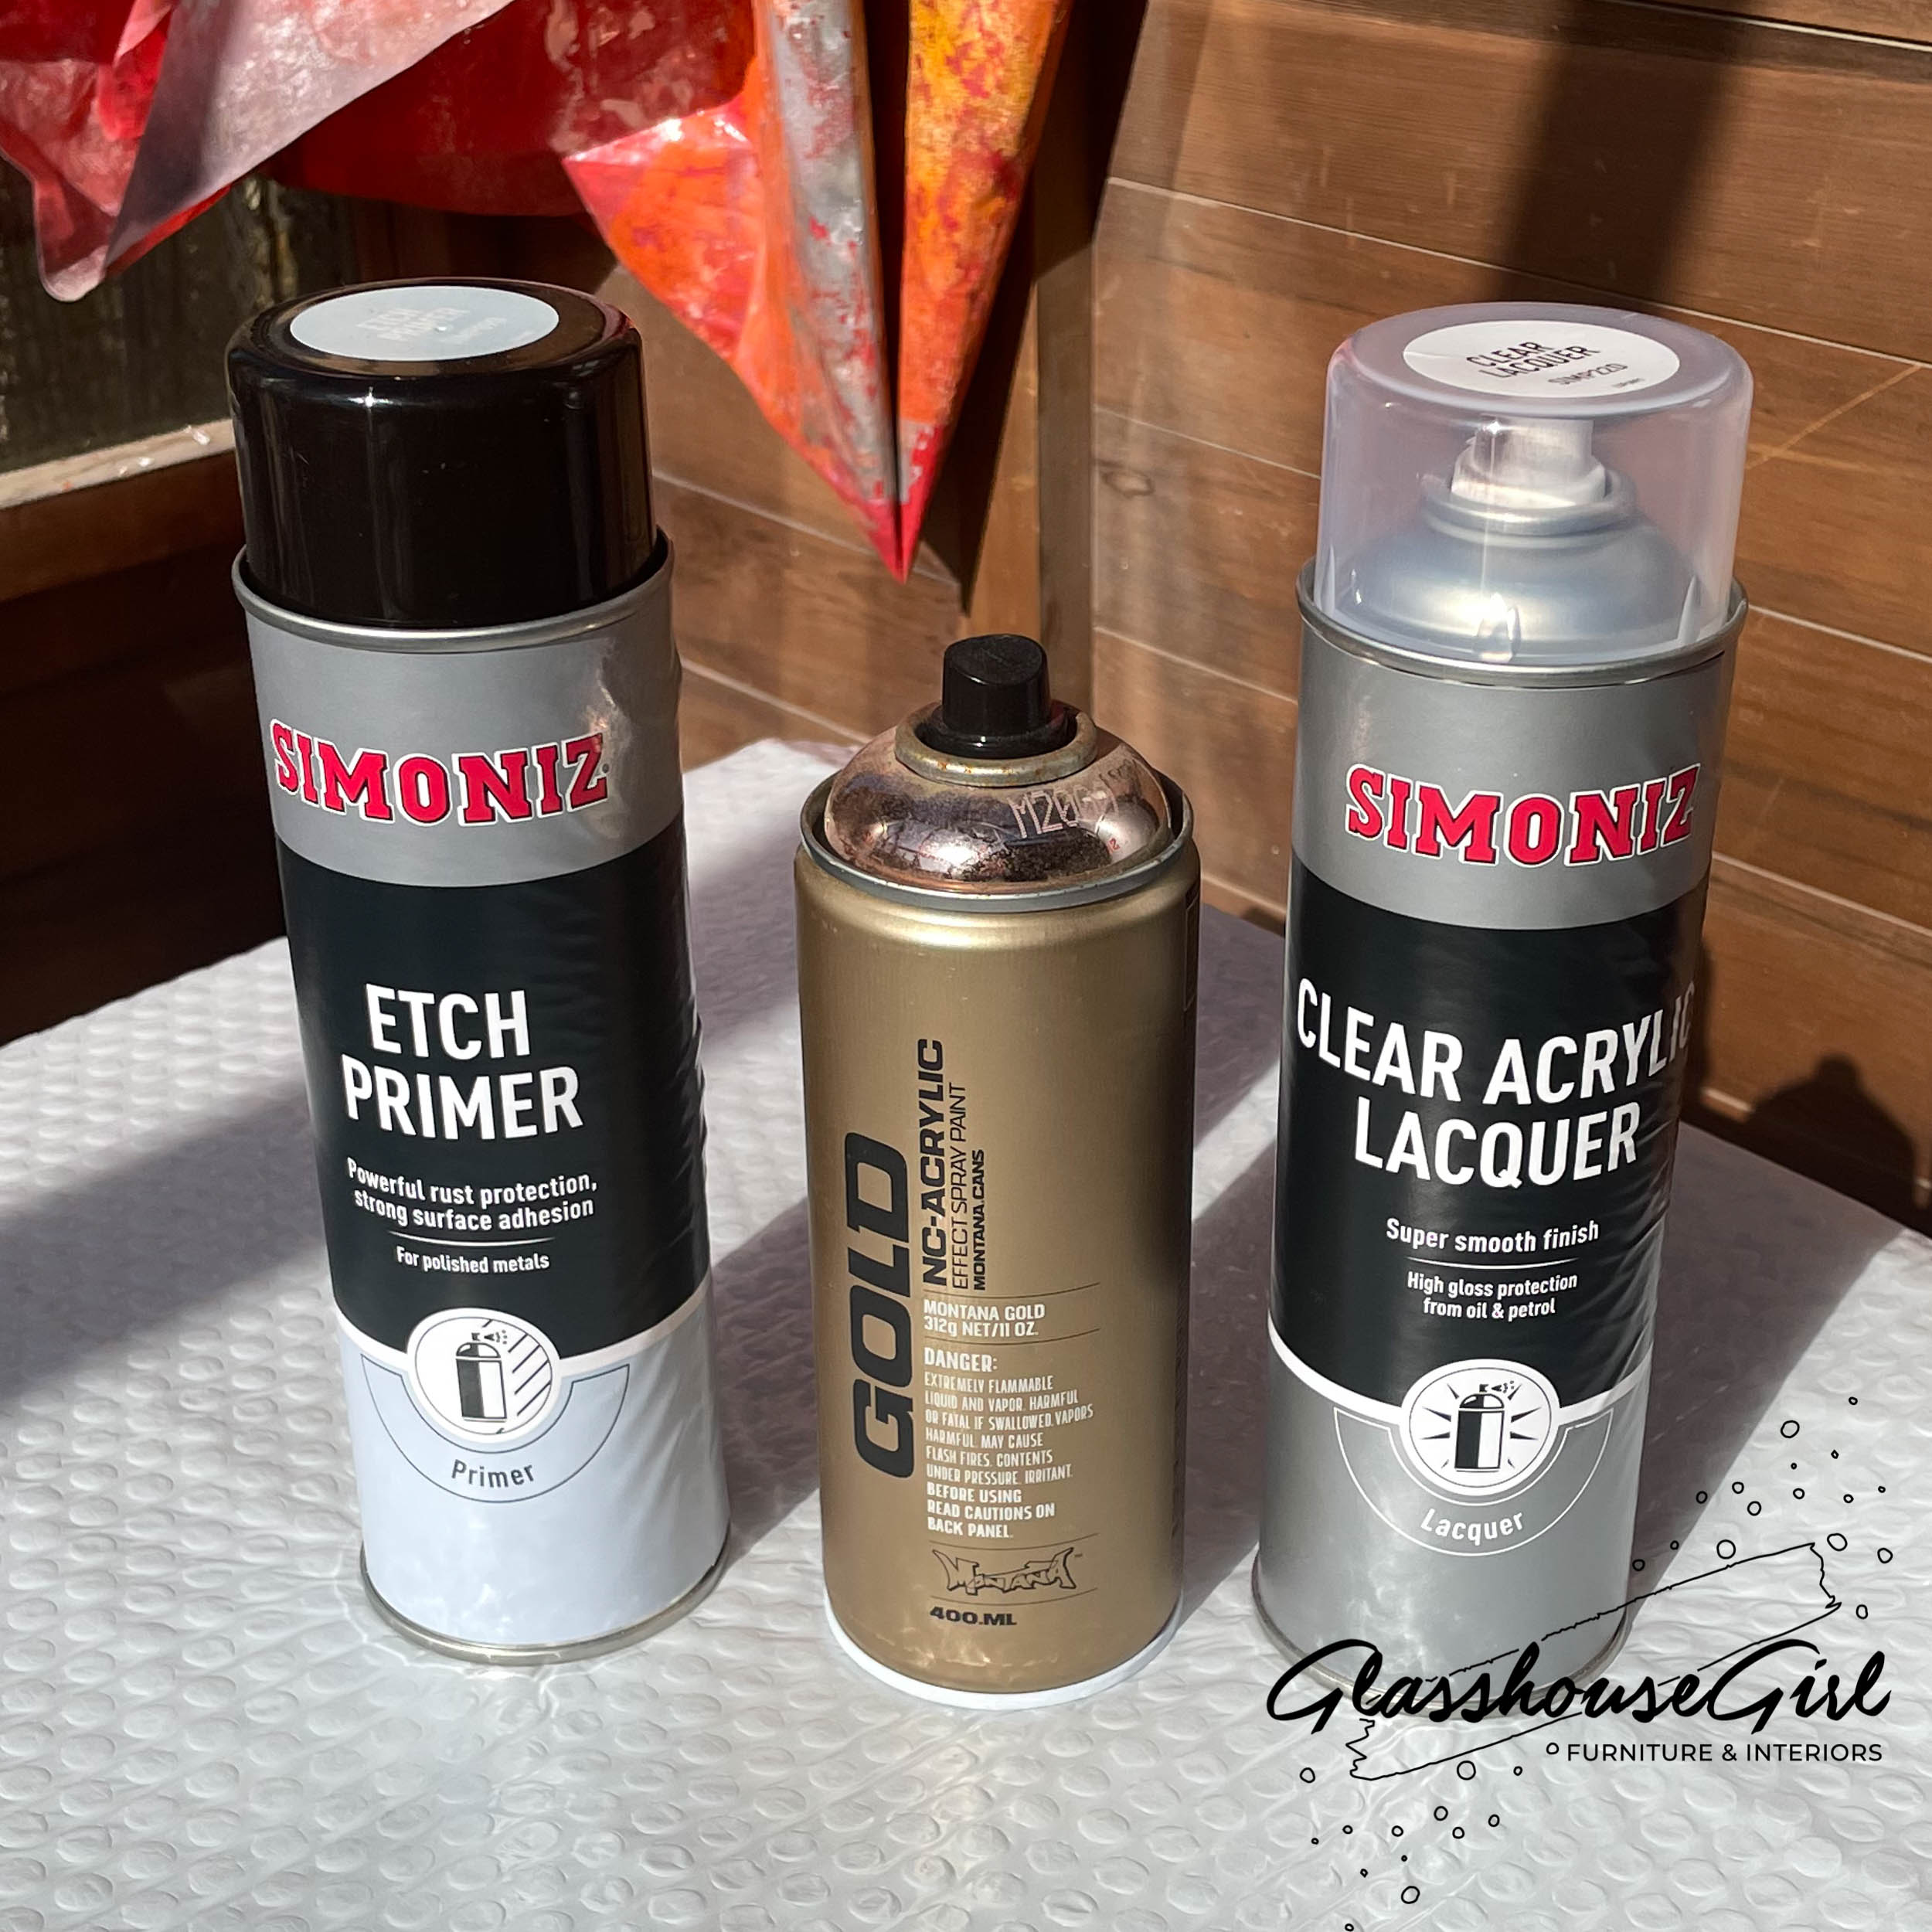
- Simoniz Etch Primer
- Montana Gold Spray Paint or another acrylic spray paint in your chosen colour (‘Gold’ in this instance is the product name rather than the colour name!)
- Simoniz Clear Lacquer

1. Remove front of the doors / drawers
The first time I tried this I removed the doors completely before taking off the door front, in retrospect this is completely unnecessary!
All you have to do it locate the screws on the sides / bottom and take them out using a ‘Torx’ key (this is kind of like an Allen key but has a more rounded head kind of like a flower) and screwdrivers. The main parts of the oven stay intact and the decorative metal / glass panels easily come off.
2. Remove handles
Once you have the door fronts off, you will find that the handles can be removed by simply unscrewing the nuts located on the rear of the door / drawer panels.
3. Clean and scuff sand doors
You want to really scrub the doors / drawer fronts to get any old grease and dirt off of them using diluted washing up liquid and a scouring pad. Any grease and dirt is going to at best ruin your finish or at worst lead to paint chipping off over time.
Once clean and dry, you can scuff sand the metal areas to rough the surface up a bit and help the primer adhere properly.
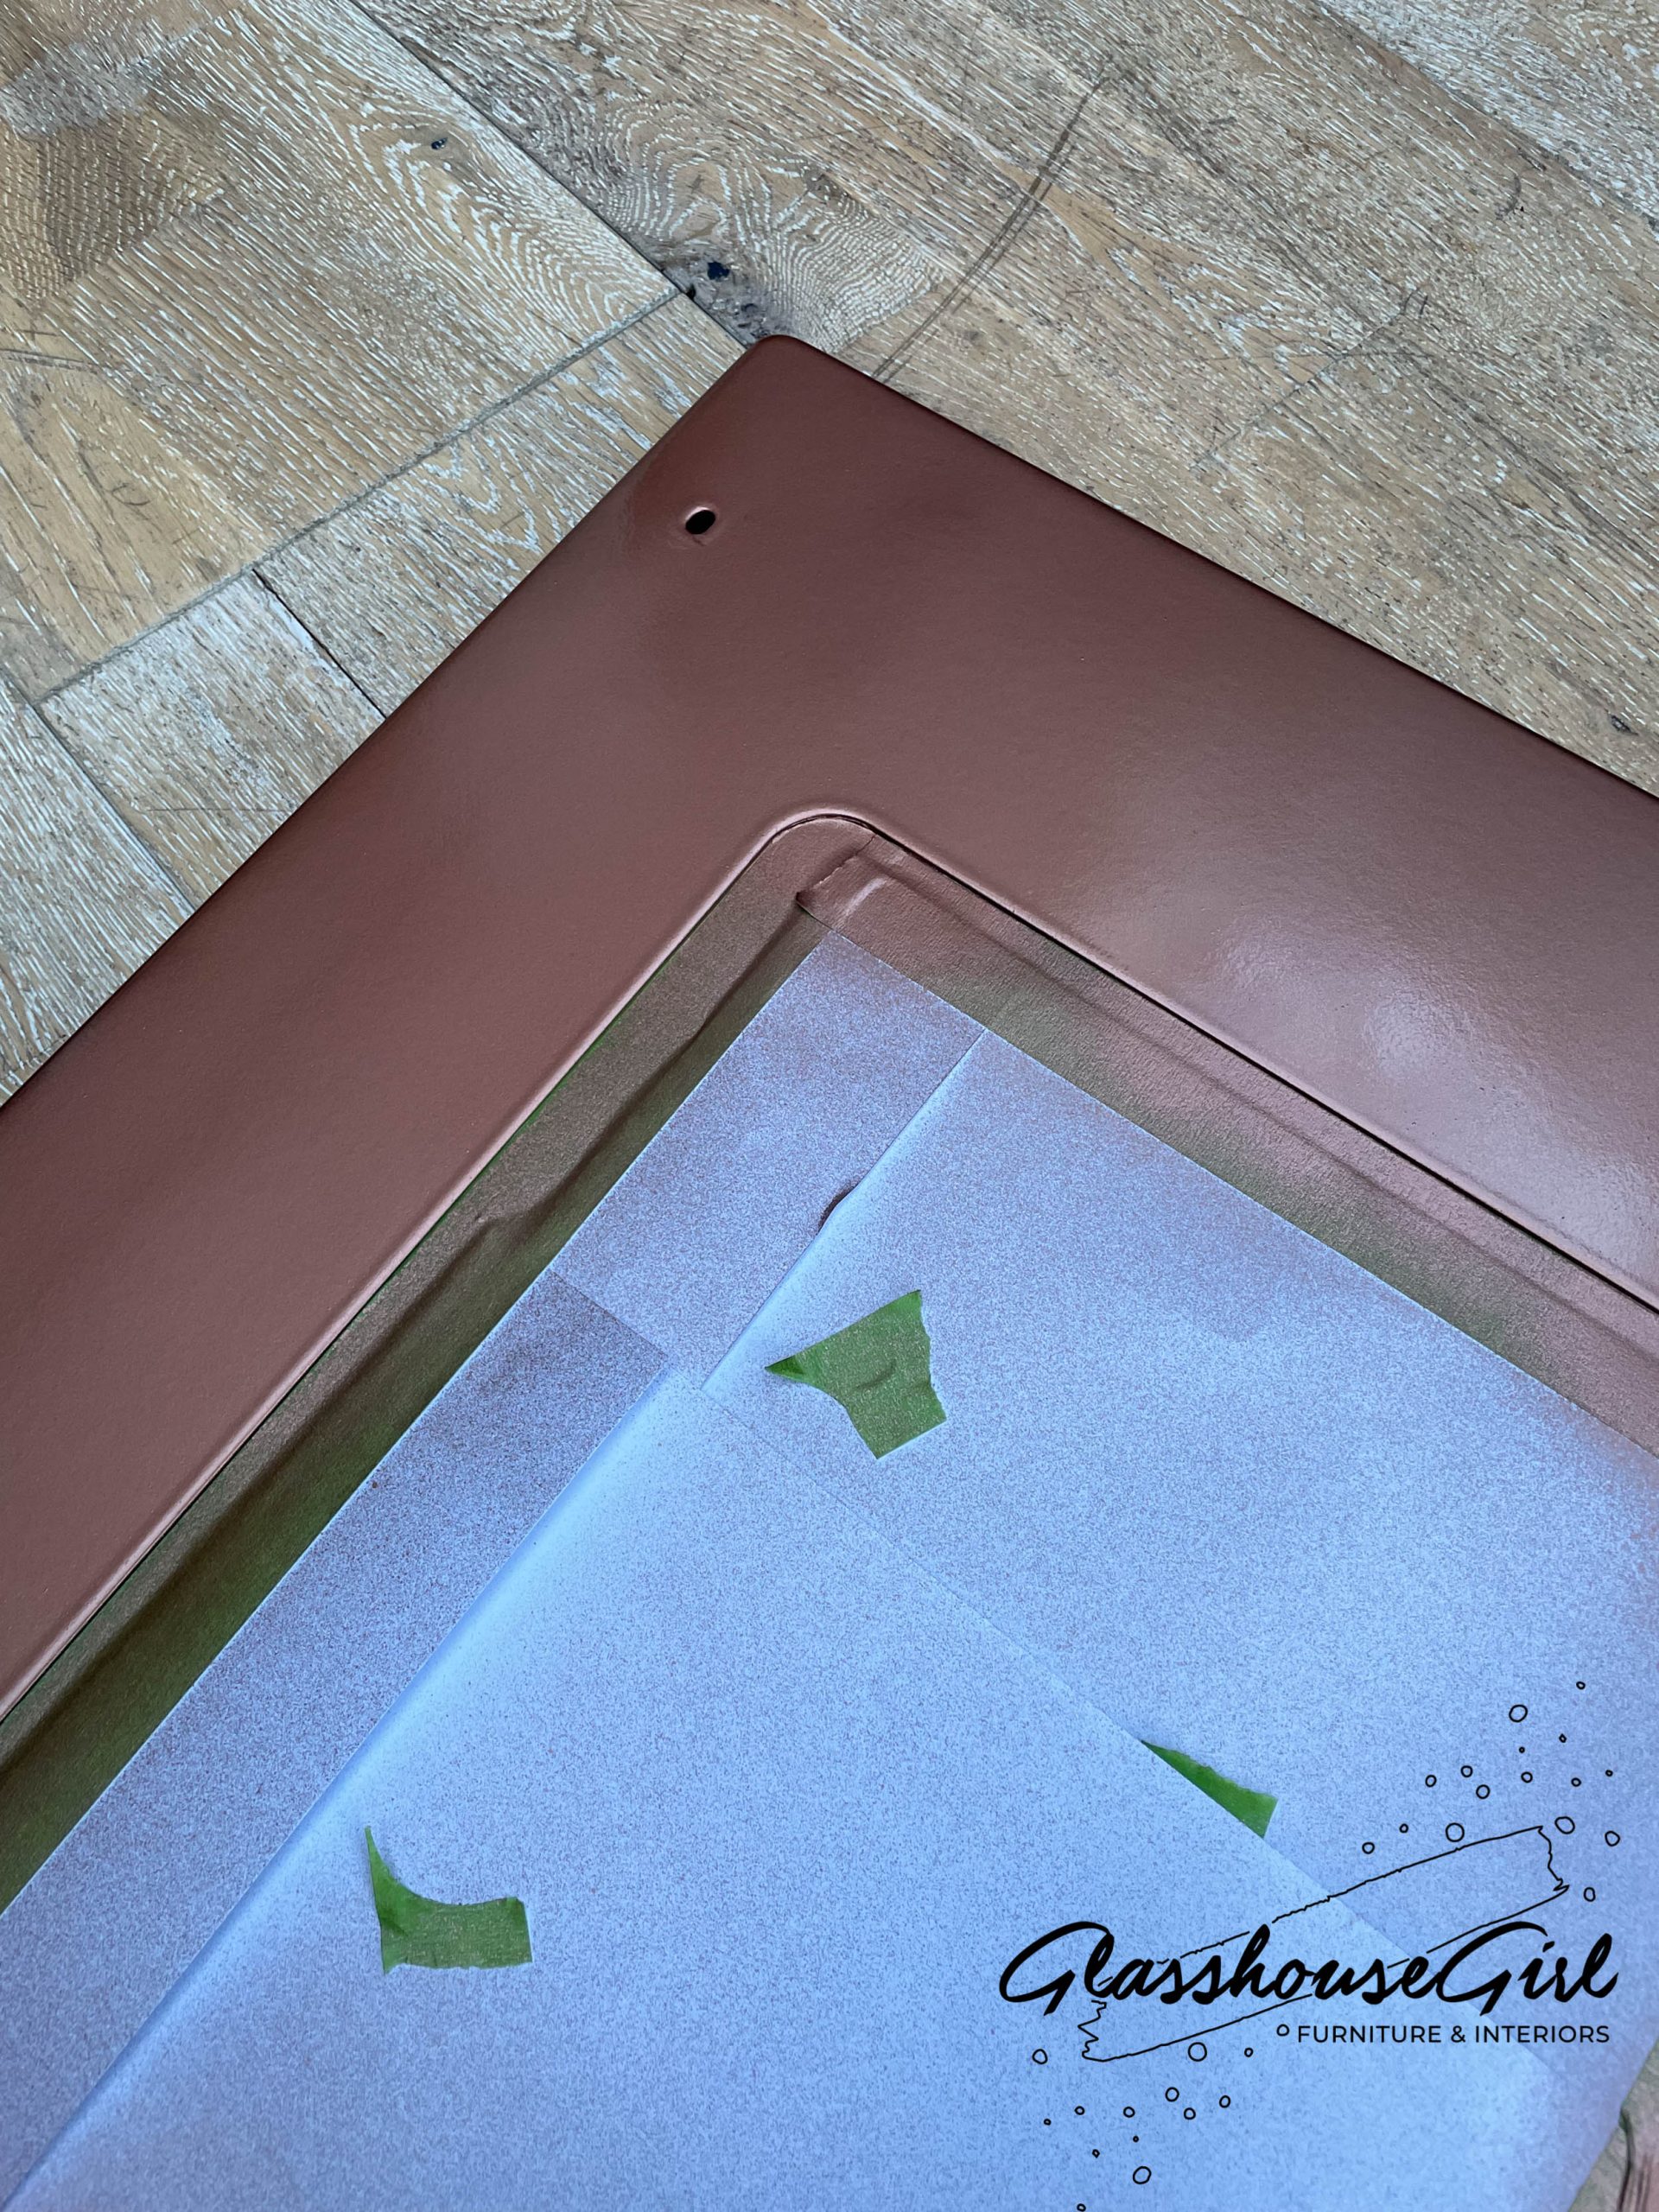
3. Mask the glass
Use masking tape (my love affair with Frogtape continues) and paper to cover the glass on the front. A craft knife or Stanley knife blade will help you get a clean edge on the rounded corners.

4. Prepare your spray area
You’ll need to cover the area where you’ll be spraying with a plastic sheet or cardboard and newspaper. It’s messy and a bit smelly so I recommend working outside or in a garage with all the windows and doors open.
Pop your doors onto upturned tins or paint cans so they ‘hover’ off the ground.
5. Spray with Etch Primer
I’ve tried a couple of brands of Etch Primer including the one from Halfords but I have to say that Simoniz Etch Primer is my favourite. It seems slightly drier than other brands, goes on more evenly and can be covered with your colour coat quicker. It’s a product (and brand) designed for use on cars and is designed to etch / ‘eat into’ whatever metal it is sprayed on and create a really strong bond. I haven’t found anything else what will work effectively on enamel. This product is ESSENTIAL if you want to spray / paint your Rangemaster oven doors.
Shake your can of Etch Primer for a couple of minutes until the ball is really rattling around in there and then spray the doors with a light, even coat.
Don’t be tempted to keep spraying one wet spot because you missed a spot otherwise too much paint will build up and you’ll get the dreaded dribbles!
You’ll want to let that first coat dry a bit and then go back over it with more light coats until you get a nice solid grey coverage.
Let this completely dry for at least 4 hours.
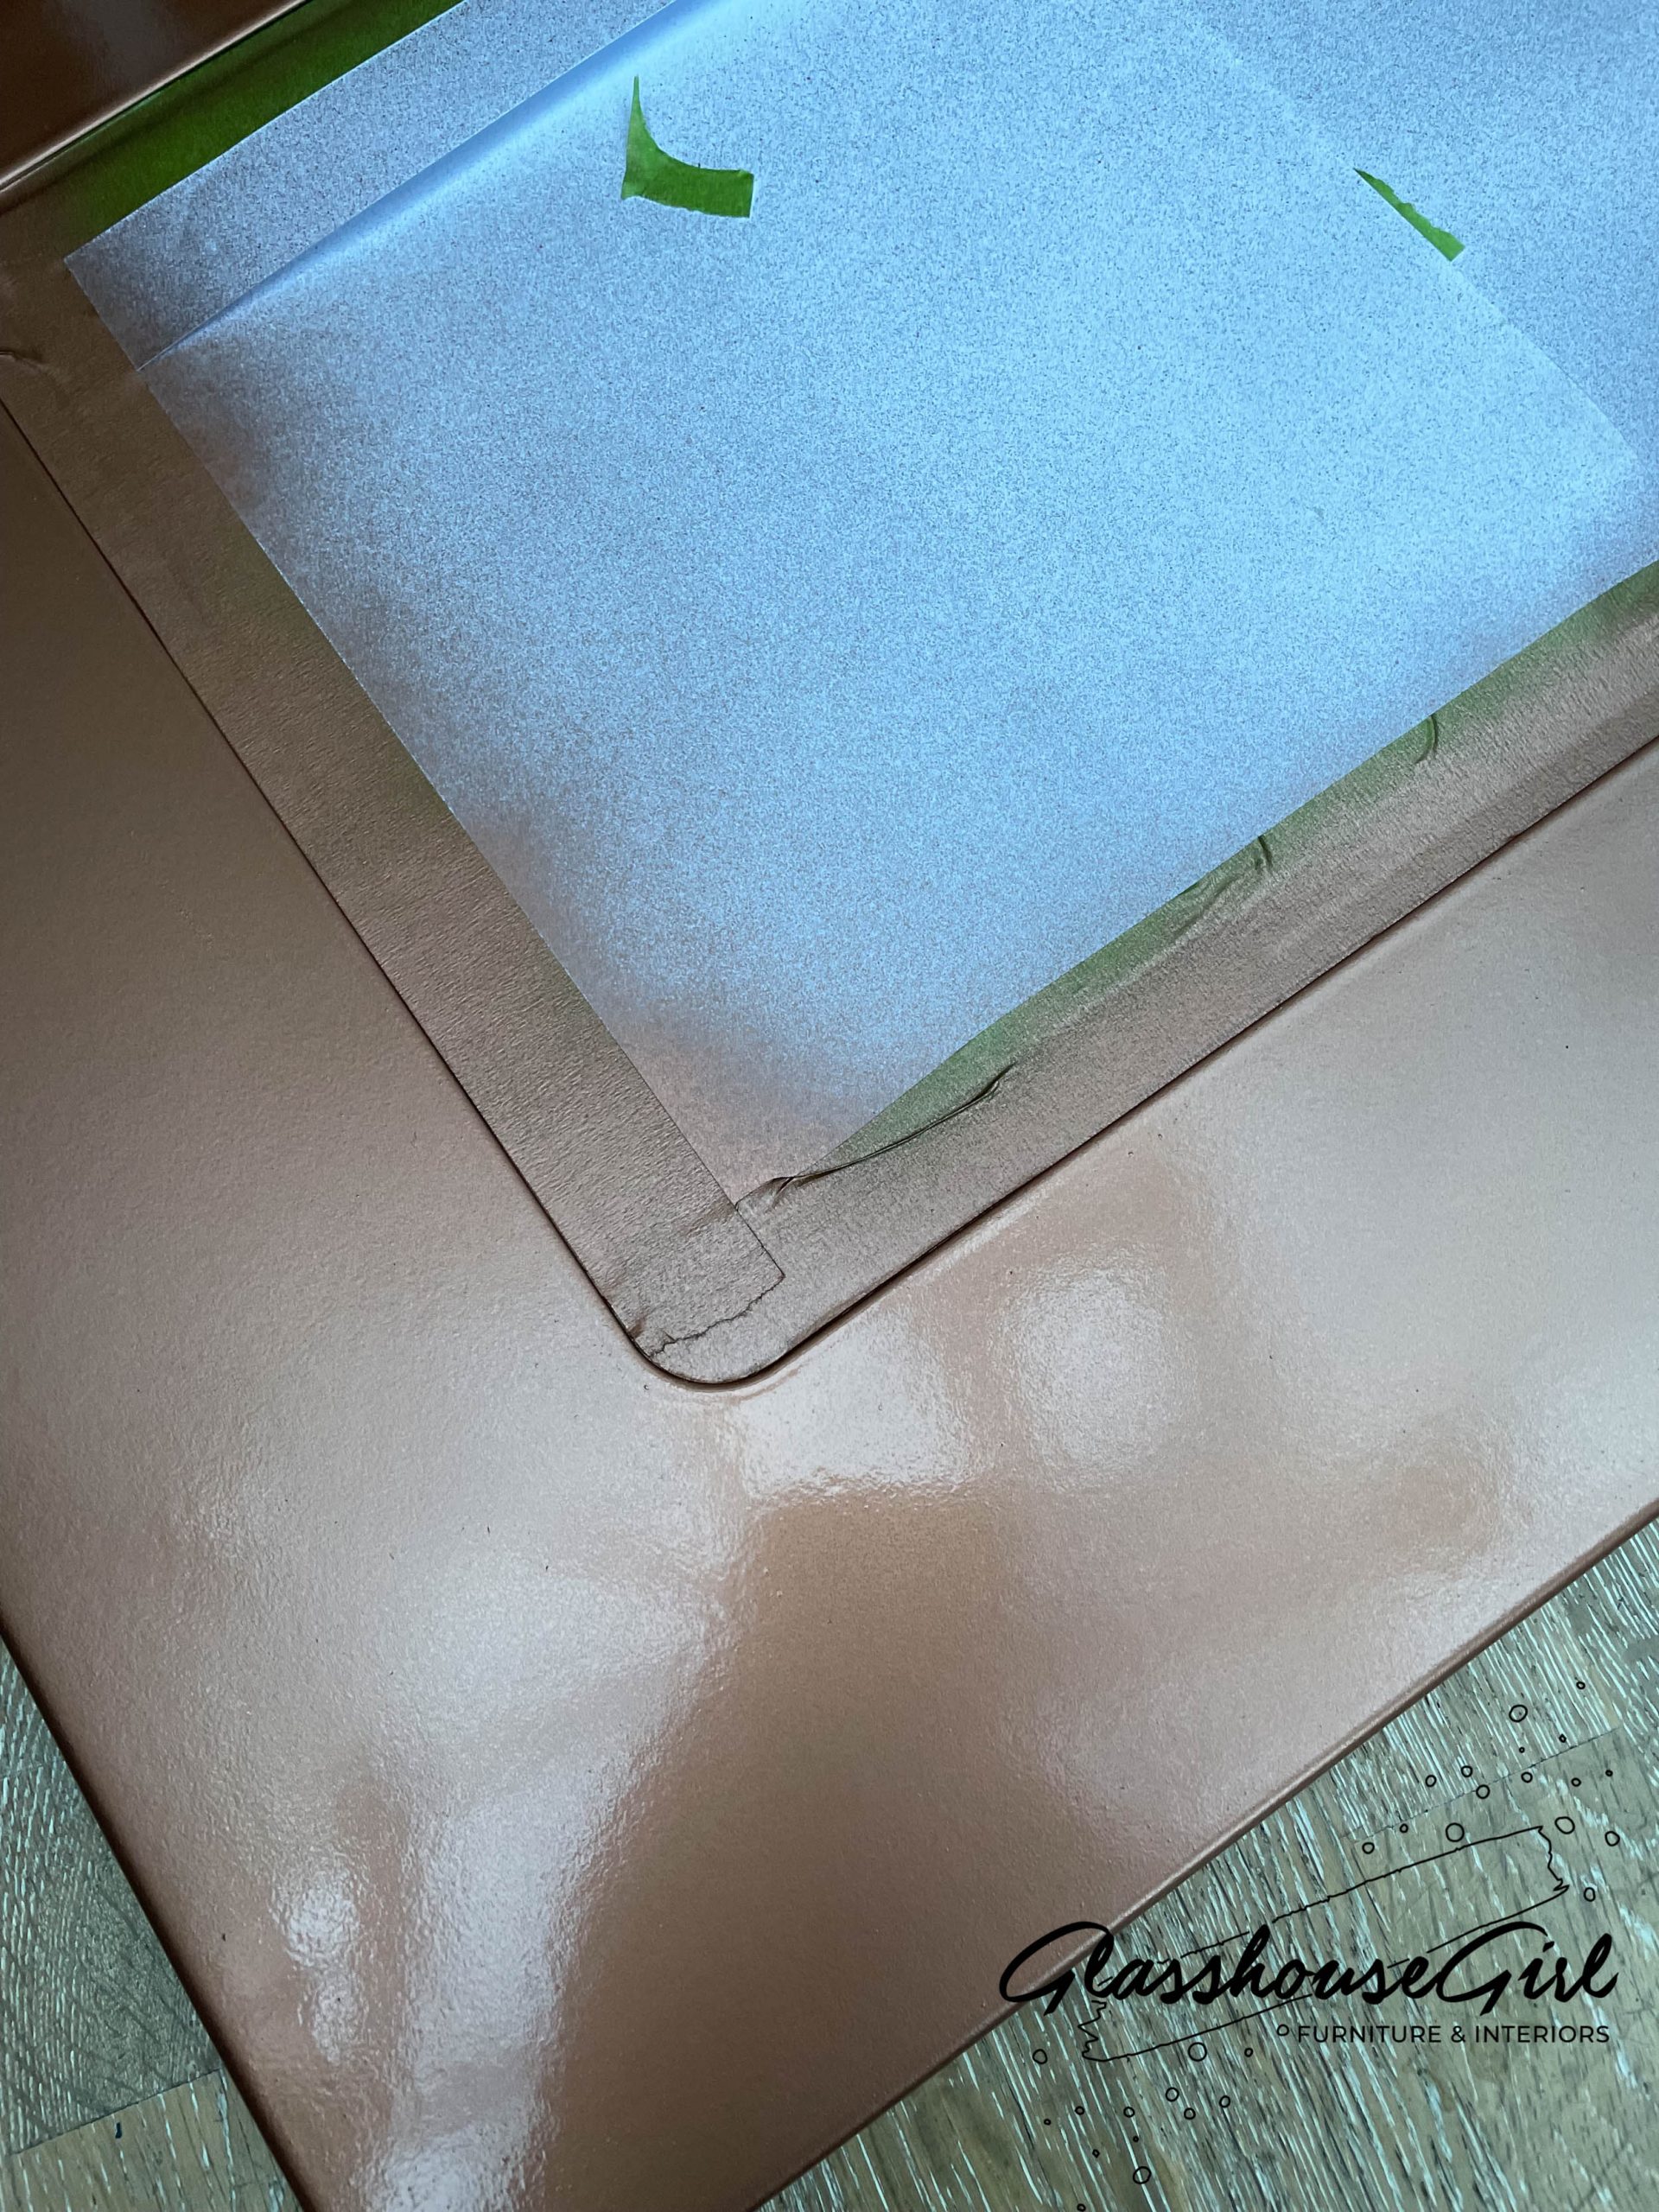
5. Spray with your chosen colour
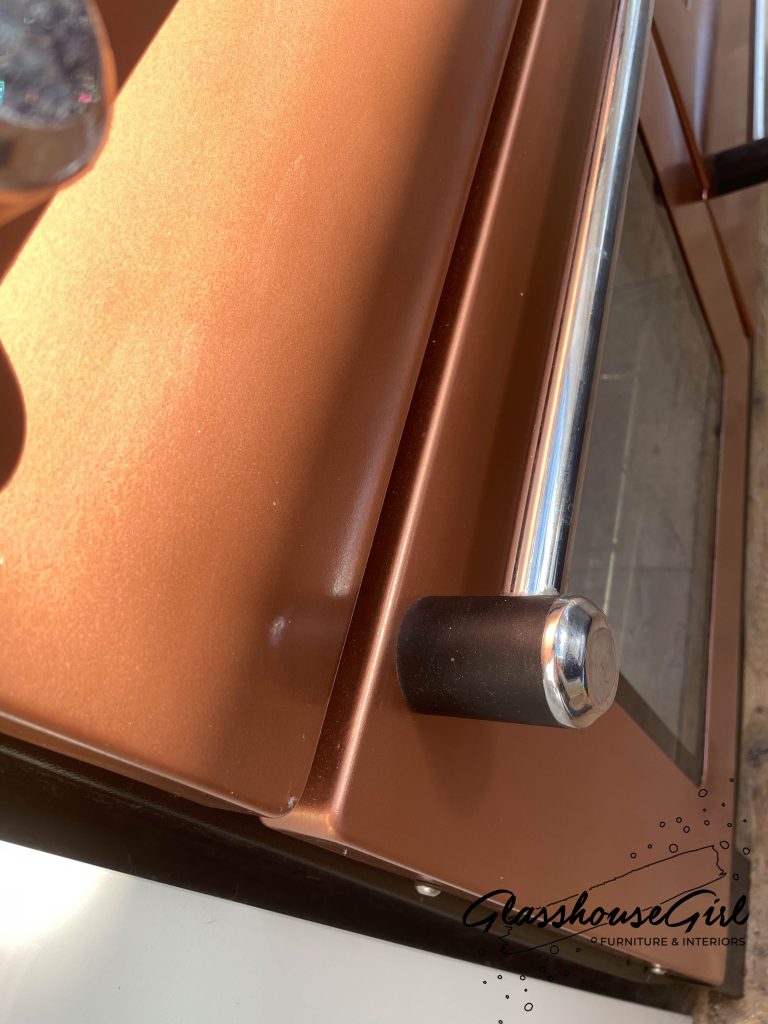
You’ll now be repeating the process you did when using the Etch Primer with your colour spray. I used Montana Gold in Copper Chrome but you could use a car spray paint if you prefer.
Shake well. Spray on light, even coats. Let it dry a bit between coats and then repeat until you get solid colour coverage.
Let this dry completely overnight.
6. Spray with clear lacquer
To make your oven doors cleanable and stop the colour chipping, I recommend using Simoniz Clear Lacquer. This is again designed for cars and it is particularly suitable for painting oven doors which will also get hot, be splashed with grease, need to be cleaned and take a bit of a beating. It’s made my doors wipe clean and they are still in perfect condition months later.
You’ll now be repeating the process you did when using the Etch Primer / colour spray using the lacquer
Shake well. Spray on light, even coats. Let it dry a bit between coats and then repeat until you get solid colour coverage.
Let this dry completely overnight.
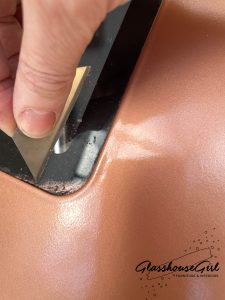
7. Clean up any overspray on the glass
Carefully remove the masking tape and paper from the doors. You may find that some of the spray may have crept underneath the tape. This can simply be scraped off using the flat of a Stanley blade.
NOTE: Whilst you have the door front off, make sure you clean the backside of the glass panel that is glued to the metal door! You’d be shocked how dirty this is!
8. Put the handles and THEN the doors back on!
Put the handles back on to the doors. I did actually put one of the doors back on without the handle in my (over)excitement – oops!
Carefully position the doors back in place and pop the screws back in.
Voila! A fabulous resprayed / painted Rangemaster oven that looks virtually brand new.

Will is last?
I thought that might be your next question… Well. I have a very clumsy and heavy handed family but after several months, the doors are still in perfect condition without chipping. I’ll update this blog if things change but if they do, I see no reason why you couldn’t simply pop the doors back off and give them a respray or even change the colour!
Let me know how you get on and tag me on social media @glasshousegirllondon with your oven makeovers!
Don’t forget to subscribe to my newsletter for more ideas, recipes, review, tutorials and lovely upcycled furniture!
Disclaimer
Glasshouse Girl provides hints and tips based on our own experience. If you choose to try these hints and tips for yourself, you are doing so entirely at your own risk. Always conduct a small test patch to ensure the process doesn’t cause damage. If in doubt, engage the on-site services of a professional tradesperson.


Leave a Reply
You must be logged in to post a comment.