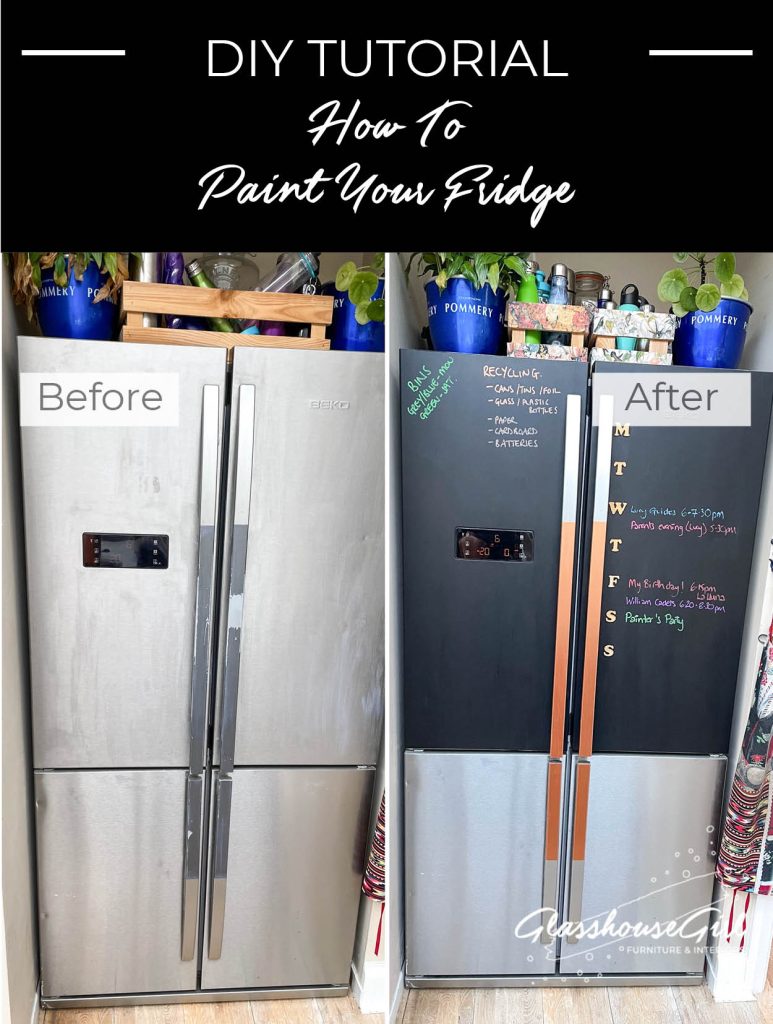
I wanted to paint the massive American style fridge freezer in our kitchen because it was starting to look a bit shabby. The doors were stained and the finish had started to peel off of the handles.
I was also annoyed that the whole family never knew what was for dinner and we forgot clubs and appointments. A decent sized organiser or chalkboard was a really great idea and those doors were just wasted space.
I’ve learnt so much about products and what is practical as Glasshouse Girl that I realised I could not only give the fridge a makeover but that I had the confidence to do it. So, let me share that knowledge with you!
Fridge Painting Materials
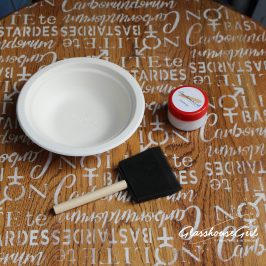
To ‘get the look’, you will need:
- Washing up liquid
- Scouring sponge
- Sandpaper – 180 grit
- Fusion Ultragrip
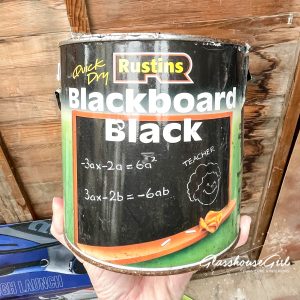
- Rustin’s Chalkboard Paint
- Brushes
- Masking Tape
- A furniture paint if you want to paint the handles – I used Fleur metallics in Jet Set Bronze
- MDF letters – I used 30mm size (optional)
- Contact adhesive (optional)
1. Clean The Outside of Your Fridge
The first thing you are going to do is to give your fridge doors (and handles) a really good scrub with soapy water to remove any dirt, grease and food residue. I used washing up liquid, diluted in hot water (same as you do for washing up) and a scouring sponge – the ones that are a sponge on one side and have a green scourer on the other.

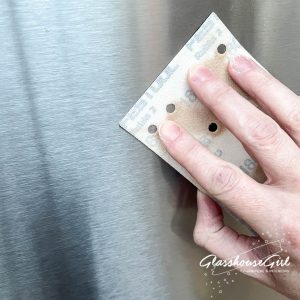
2. Sand Your Fridge
Then take your sandpaper and give the doors (and handles if you are doing them) a good rub. What you are doing here is giving it a ‘key’. This means that you are creating virtually invisible little scratches that will help your paint(s) stick better to the fridge panels.
Once you’ve sanded, give it a wipe with a damp cloth or kitchen towel to remove any dust.
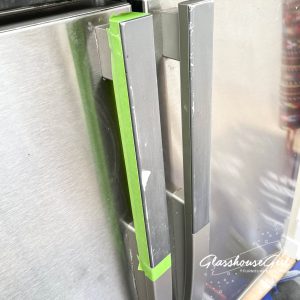
3. Masking-off
If there are areas that you don’t want painted – in my case I only wanted certain parts of the fridge handles to be painted – I recommend masking these off using a painters tape like Frogtape. It really just makes things that much quicker and easier in the long run.
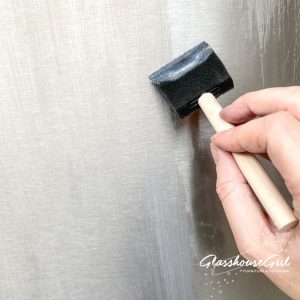
4. Prime Your Fridge
Now you are ready for the scary bit – starting to paint… I recommend using Fusion Ultragrip. This product is pretty amazing as a base coat and allows you to confidently paint surfaces like metal, plastic and even laminate.
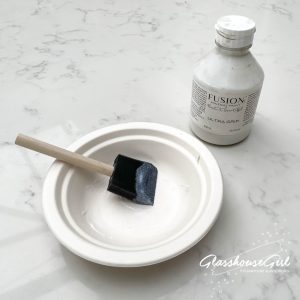
Apply with a paintbrush, foam brush or mini-roller to the areas you want to paint.
I recommend doing two coats of Fusion Ultragrip with a full 24 hours dry-time per coat. This makes sure it you have complete coverage and no weak spots where it hasn’t dried out.
You should also lightly sanding in between coats. This will make sure that any dots or dust that may have gotten stuck in the Ultragrip whilst it dried are removed.
5. Paint Your Fridge
Apply your chalkboard (or other paints) with a brush or mini-roller.

Allow 2-4 hours between coats and lightly sand between coats as you did for the priming stage.
You’ll probably need 3 coats to paint a fridge get complete coverage.
6. Add MDF letters (optional)
I purchased some of these 30mm high letters from a seller on eBay. They are available in lots of sizes and fonts. If you search for ‘MDF laser cut letters’, you’ll find lots of options.
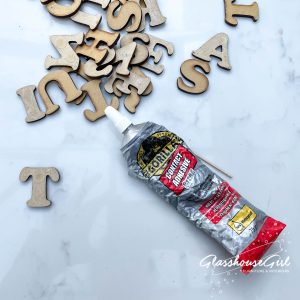
I used a cocktail stick to spread a small amount of Gorilla Glue Contact Adhesive on the back and stuck them onto one of the fridge doors. I held a couple of spare letters in place to get the spacing right but you may wish to measure it all out and mark-up with chalk of course!
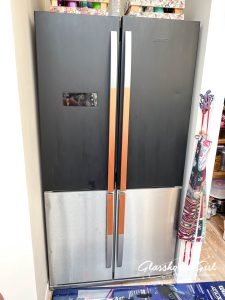
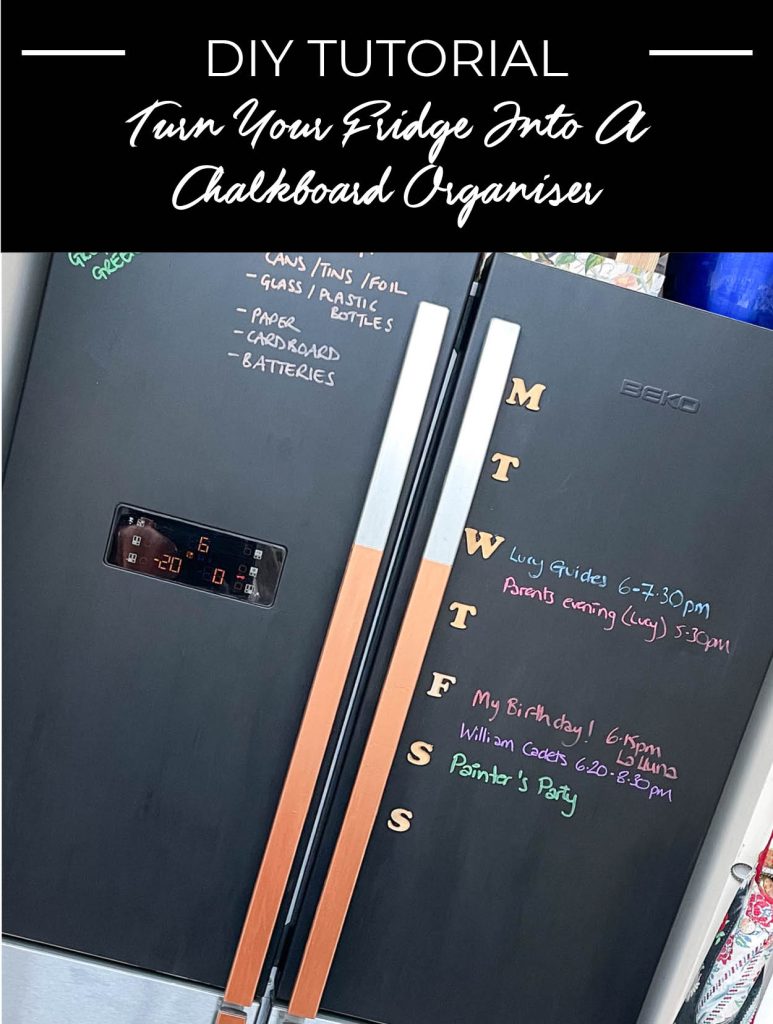
Et Voila! One painted fridge used as a chalkboard family organiser!
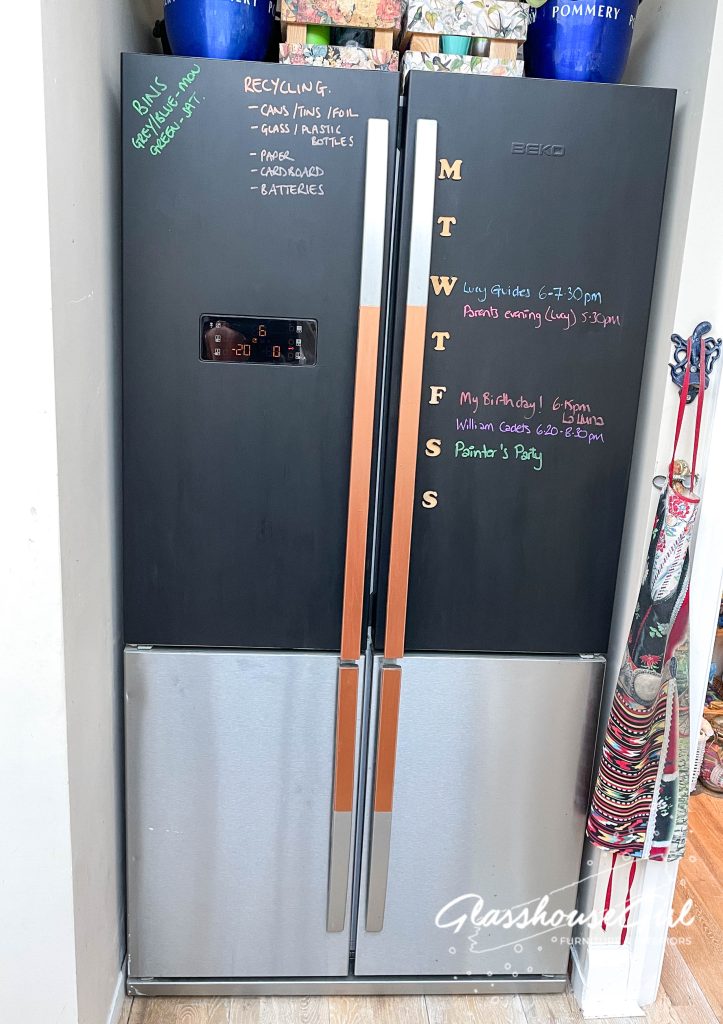
And there we are – one Chalkboard painted fridge that can be used as a family organiser.
Once a year, or more often if you need to, clean everything off and add a fresh coat of chalkboard paint to keep it looking tip top!
I’m sure you’ll have loads more creative ideas and make your fridge work best for you, so please give me a shout out on social media (@glasshousegirllondon) as I’d love to see what you do!
Don’t forget to subscribe to my newsletter for more ideas, recipes, review, tutorials and lovely upcycled furniture!
A note on chalk and chalk markers
After much trial and error, including a couple of extra coats of chalkboard paint, I found that its worth having both plain old chalk and those nifty chalkboard markers.
I use the old-fashioned chalk for things I’m changing regularly and the chalk pens for stuff that stays on there for a while.
The normal chalk will just rub off with a cloth and a swipe of a damp cloth occasionally will keep it looking fresh.
Those chalkboard markers should wipe off with a damp cloth but I’ve found that it depends on the colour as to how effective this is. Your secret weapon to remove them (without taking off all that chalkboard paint you worked so hard to put on) is a ‘Magic Eraser’. A damp one of these nifty little dense white sponges is all you need to swipe it off.
Disclaimer
Glasshouse Girl provides hints and tips based on our own experience. If you choose to try these hints and tips for yourself, you are doing so entirely at your own risk. Always conduct a small test patch to ensure the process doesn’t cause damage. If in doubt, engage the on-site services of a professional tradesperson.

Leave a Reply
You must be logged in to post a comment.